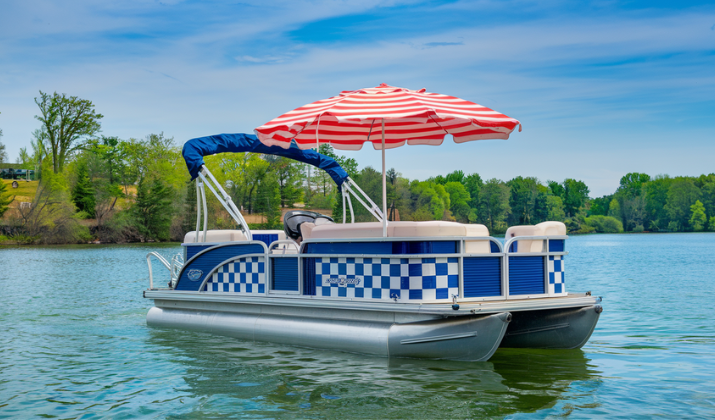
Your boat’s flooring isn’t just about aesthetics.
It’s an important safety feature and a major investment that can affect your vessel’s overall value.
Whether you’re renovating an old boat or maintaining a new one, avoiding common flooring mistakes can save you thousands in repairs and countless hours of frustration.
Let’s dive into the five most critical errors boat owners make with their flooring and learn how to address them effectively.
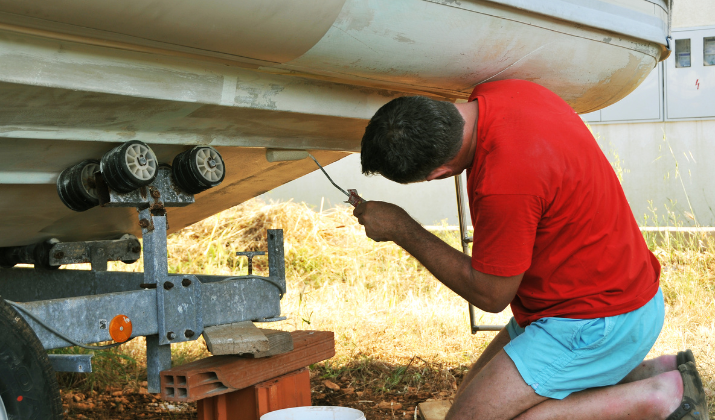
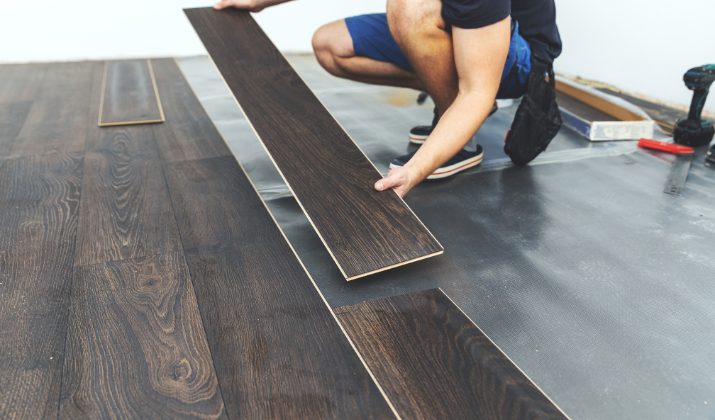
1. Improper Surface Preparation

The foundation of any successful flooring installation lies in proper preparation, yet this crucial step is often rushed or overlooked entirely.
Many boaters, eager to complete their projects, skip thorough preparation, leading to devastating consequences down the line.
Common Preparation Mistakes:
- Failing to remove all traces of old adhesive
- Ignoring minor cracks or soft spots in the subsurface
- Not checking moisture content before installation
- Skipping proper cleaning and degreasing steps
How to Fix:
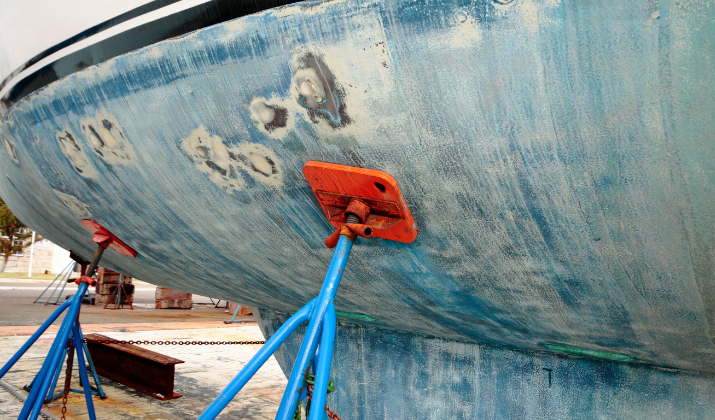
- Complete Surface Stripping:
- Use appropriate stripping agents to remove all old adhesive
- Sand the surface until completely smooth
- Clean with acetone or recommended marine solvents
- Structural Assessment:
- Probe for soft spots using a screwdriver
- Check for delamination using tap testing
- Replace or repair any compromised areas
- Moisture Management:
- Use a professional-grade moisture meter
- Allow adequate drying time (typically 2-3 days minimum)
- Install moisture barriers where appropriate
- Use marine-grade primers designed for your specific flooring type
2. Choosing the Wrong Material
Material selection can make or break your boat flooring project.
The marine environment presents unique challenges that require specific materials designed to withstand these conditions.
Material-Specific Considerations:
Marine-Grade Vinyl:
- Best for: High-traffic areas, cockpits
- Pros: Durable, easy to clean, excellent grip when wet
- Cons: Can get hot in direct sunlight
- Cost: $15-40 per square foot installed
Synthetic Teak:
- Best for: Deck areas, swim platforms
- Pros: Classic look, UV resistant, low maintenance
- Cons: Higher initial cost
- Cost: $75-150 per square foot installed
Non-Skid Fiberglass:
- Best for: Working decks, fishing boats
- Pros: Extremely durable, excellent traction
- Cons: Limited color options
- Cost: $20-50 per square foot installed
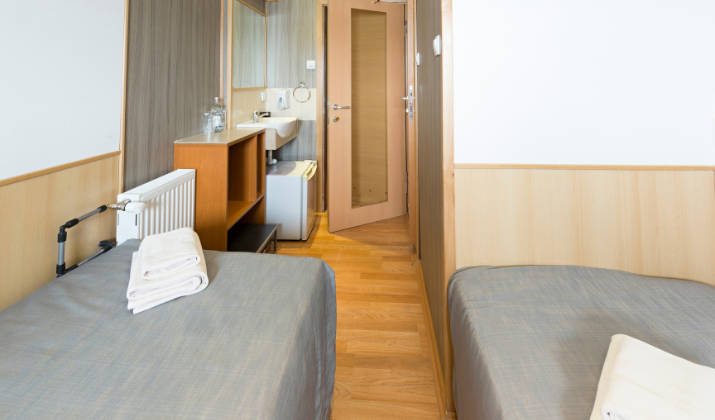
Marine Carpet:
- Best for: Cabin areas, pontoon boats
- Pros: Comfortable, sound-dampening
- Cons: Requires more maintenance
- Cost: $10-30 per square foot installed
How to Fix:
- Assess your boat’s primary use (fishing, cruising, water sports)
- Consider your local climate and typical weather conditions
- Calculate long-term maintenance costs, not just installation
- Request material samples and test in actual conditions
- Consult with marine flooring specialists about specific applications
3. Poor Ventilation Planning
Proper ventilation is crucial yet often overlooked in boat flooring design. Stagnant air and trapped moisture can destroy even the highest quality materials.
Critical Ventilation Components:
- Structural Elements:
- Flow-through matting systems
- Drainage channels
- Air gaps at edges
- Inspection ports
- Installation Considerations:
- Minimum 1/4 inch gap around permanent fixtures
- Cross-ventilation pathways every 4 feet
- Raised grid systems for solid surface materials
How to Fix Ventilation Issues:
- Immediate Solutions:
- Install ventilation ports every 20 square feet
- Add corner ventilation strips
- Create airflow channels using marine-grade spacers
- Long-term Solutions:
- Design comprehensive drainage patterns
- Install automatic bilge ventilation systems
- Use moisture-wicking underlayment
- Regular inspection and cleaning of ventilation paths
4. Incorrect Installation Patterns
Proper pattern layout affects both aesthetics and functionality. Poor planning can lead to weak points and premature failure.
Pattern Considerations:
- Layout Planning:
- Map entire installation before starting
- Account for boat movement and flex
- Consider traffic patterns
- Plan for future maintenance access
- Seam Management:
- Stagger seams minimum 6 inches
- Avoid seams in high-traffic areas
- Use proper sealing techniques
- Allow appropriate expansion gaps
How to Fix:
- For New Installations:
- Create detailed layout drawings
- Use proper spacing tools
- Install in sections
- Follow manufacturer guidelines precisely
- For Existing Installations:
- Reinforce problematic seams
- Add additional support at stress points
- Install proper expansion joints
- Use marine-grade sealants at all seams
5. Neglecting Proper Maintenance
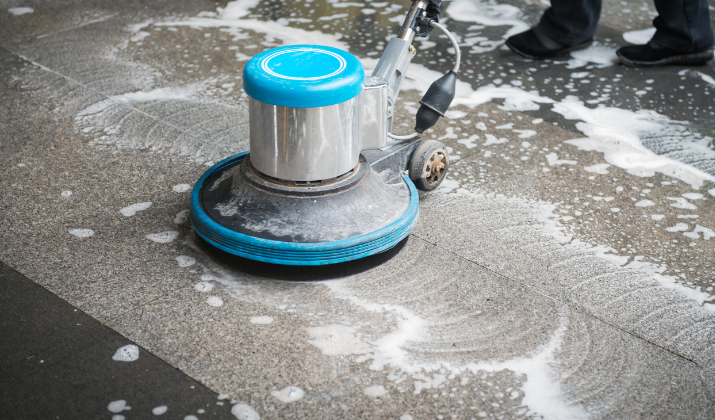
Even the best flooring installation will fail without proper maintenance.
Developing a comprehensive care routine is essential for longevity.
Maintenance Schedule:
Daily/After Each Use:
- Rinse with fresh water
- Remove any stains immediately
- Check for new damage
- Dry thoroughly
Weekly:
- Deep clean with appropriate cleaners
- Inspect seams and edges
- Check ventilation ports
- Test non-slip properties
Monthly:
- Detailed inspection of all surfaces
- Clean and test drainage systems
- Check for water intrusion
- Inspect subflooring where possible
Seasonally:
- Apply UV protectant
- Deep clean and restore finishes
- Check and repair sealants
- Professional inspection if needed
How to Fix:
- Create a Maintenance Log:
- Document all cleaning activities
- Track product applications
- Note any damage or repairs
- Schedule regular inspections
- Develop a Cleaning Kit:
- Marine-specific cleaners
- Appropriate brushes and tools
- pH meters for testing cleaners
- Moisture meters
- Repair materials

Conclusion
A good boat flooring is a combination of proper planning, quality materials, correct installation, and consistent maintenance.
By understanding and avoiding these five common mistakes, you can significantly extend the life of your boat’s flooring while maintaining its safety and appearance.
Investing time and resources in proper installation and maintenance will always be less expensive than dealing with major repairs or replacement due to preventable errors.
Consider consulting with marine flooring professionals for specific advice about your boat’s needs, as different vessels and uses may require specialized solutions.
With proper attention to these details, your boat’s flooring can provide years of reliable service while maintaining its beautiful appearance.