The T-rescue, also known as the T-recovery, is one of the most fundamental assisted rescue techniques in kayaking.
While most kayakers know how to kayak, they are generally unaware of the various rescue methods in kayaking.
If you want to learn the skill, stay right here. We’ll discuss all about T-rescue in this post.
Read on.
What is a T-Rescue?
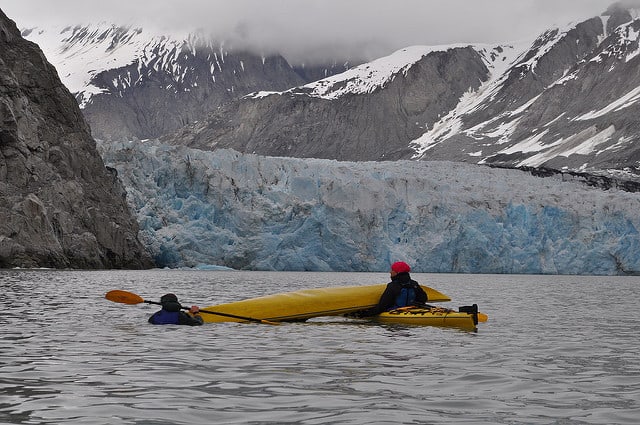
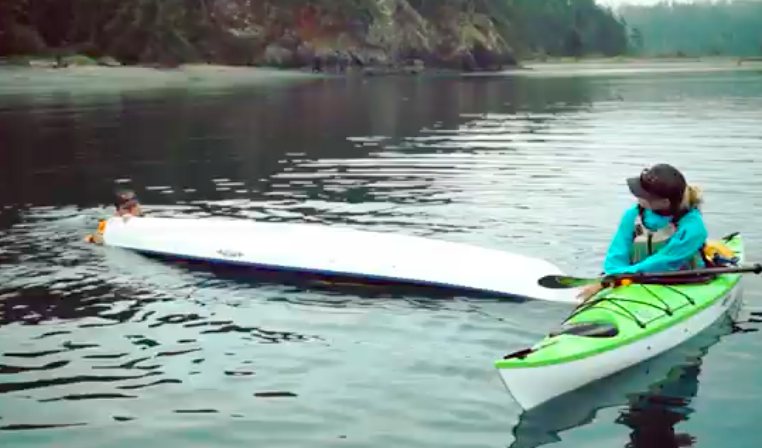
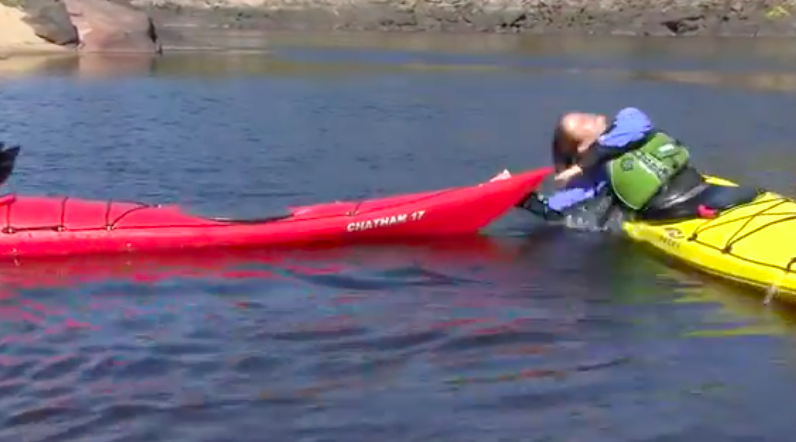
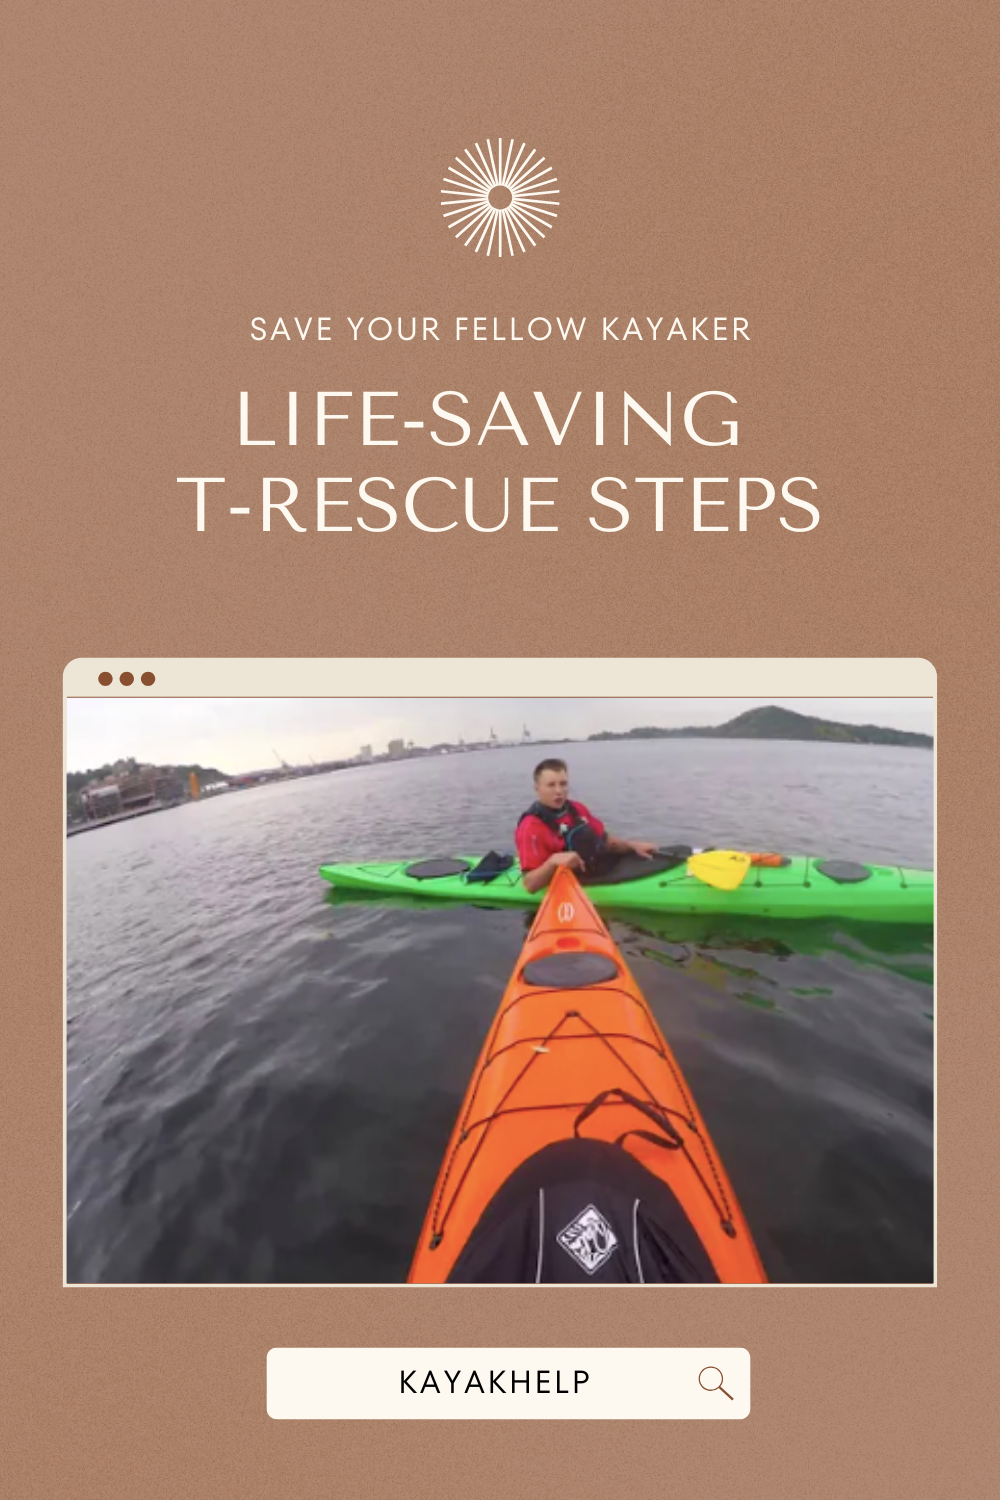
A T-rescue is a technique used to help a capsized kayaker return to an upright position with assistance from another paddler.
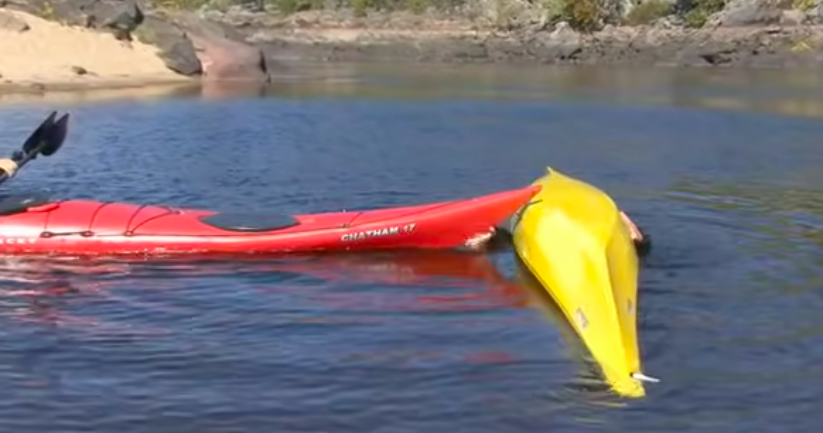
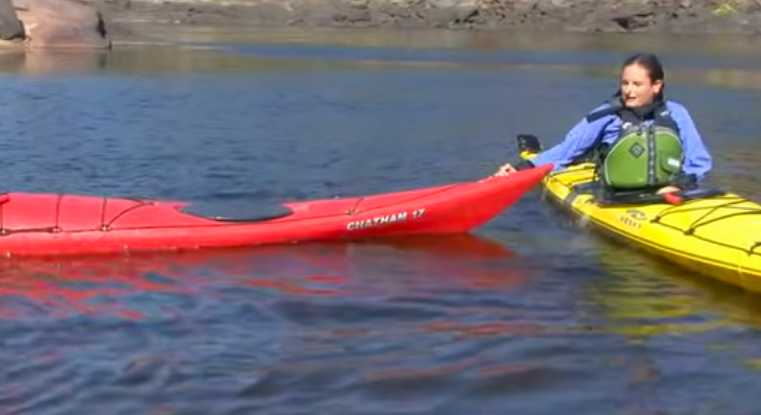
The name comes from the T-shaped formation created when the rescuer positions their kayak perpendicular to the overturned kayak.
Historical Context
The T-rescue technique has evolved over decades of kayaking experience, originating from traditional Inuit rescue methods.
Modern adaptations have refined the procedure to work with contemporary kayak designs and equipment.
Environmental Considerations
Weather Conditions
- Wind: Strong winds can complicate positioning; approach from downwind when possible
- Waves: Time the rescue with wave patterns to minimize water intake
- Current: Position upstream of the capsized kayaker in moving water
- Temperature: Work quickly in cold water to prevent hypothermia
Water Types
- Flatwater
- Ideal for practicing and perfecting technique
- Allows for slower, more controlled movements
- Coastal Waters
- Consider tidal movements
- Watch for approaching waves
- Maintain awareness of drift direction
- Rivers
- Account for current speed and direction
- Be aware of downstream hazards
- Consider eddy positioning
Advanced Components for a Successful T-Rescue
For the Capsized Paddler
- Wet Exit Preparation
- Keep hands on grab loops
- Take a final breath before exiting
- Push knees down to release from thigh braces
- Pull spray skirt release loop firmly
- During the Swim
- Maintain contact with boat and paddle
- Position yourself at bow or stern
- Keep feet up and pointed downstream in moving water
- Conserve energy by floating on back if needed
- Communication Signals
- Tap on hull for attention
- Use standard paddle signals
- Verbal calls: “HELP!” or whistle blasts
For the Rescuer
- Equipment Readiness
- Rescue PFD with quick-release tow line
- Paddle float for backup
- Pump accessible
- Proper deck lines and grab handles
- Approach Strategies
- Assess scene safety
- Plan approach route
- Consider wind and current
- Monitor swimmer’s condition
Detailed T-Rescue Procedure
1. Initial Response
- Scene Assessment
- Check for additional hazards
- Count number of swimmers
- Note equipment location
- Plan rescue sequence
- Approach Technique
- Use bow rudder for precise control
- Maintain visual contact
- Approach at 45-degree angle
- Slow down near swimmer
2. The Core Rescue
- Positioning Phase
- Contact point should be just behind cockpit
- Maintain slight angle for stability
- Keep paddle ready for support
- Use low brace position if needed
- Rolling and Draining
- Method 1: Standard Roll
- Lift and roll in one smooth motion
- Use hull momentum to assist
- Keep movements controlled
- Method 2: Progressive Roll
- Lift in stages
- Drain water gradually
- Better for heavily loaded kayaks
- Method 1: Standard Roll
- Advanced Water Removal
- Technique for plastic kayaks:
- Rock boat to break surface tension
- Lift bow higher than stern
- Use wave motion to assist
- Technique for composite kayaks:
- More gentle movements
- Multiple smaller lifts
- Careful of deck stress points
- Technique for plastic kayaks:
3. Re-entry Variations
- Standard Rear Deck
- Swimmer approaches from side
- Grasps far cockpit rim
- Kicks horizontally
- Slides across deck
- Scramble Method
- Used in rougher conditions
- More physical but faster
- Swimmer belly-flops onto deck
- Quick rotation into cockpit
- Assisted Roll
- For experienced paddlers
- Maintains spray skirt attachment
- Uses hip snap and paddle sweep
- Requires good coordination
Equipment-Specific Considerations
Kayak Types
- Sea Kayaks
- Longer length requires more care in positioning
- Usually more stable during rescue
- Better deck lines for handling
- Recreational Kayaks
- Often wider and more stable
- May lack deck lines
- Cockpits can be harder to drain
- Touring Kayaks
- Balance between stability and maneuverability
- Good deck fittings
- Moderate cockpit size
Safety Equipment
- Essential Gear
- Paddle float
- Bilge pump
- Towline
- Whistle or other signaling device
- Optional Equipment
- Rescue stirrup
- Extra flotation
- Rescue tape
- Quick-release harness
Training and Practice
Progression Steps
- Pool Sessions
- Perfect form in controlled environment
- Practice communication
- Build muscle memory
- Calm Water
- Add environmental factors
- Work on timing
- Practice different approaches
- Challenging Conditions
- Gradually increase difficulty
- Practice in wind and waves
- Add current considerations
Group Practice Scenarios
- Basic Drills
- Planned capsizes
- Timed recoveries
- Role switching
- Complex Situations
- Multiple capsizes
- Equipment failures
- Tired swimmer scenarios
Troubleshooting Common Issues
Problem-Solving Guide
- Unstable Position
- Adjust angle of contact
- Use paddle for support
- Reposition if necessary
- Heavy Water Volume
- Multiple drain attempts
- Rock boat systematically
- Consider alternative drain points
- Tired Swimmer
- Use rescue sling
- Consider alternative rescue
- Provide floating rest
Emergency Protocols
When T-Rescue Fails
- Immediate Actions
- Signal for additional help
- Switch to backup technique
- Maintain contact with swimmer
- Alternative Methods
- Paddle float rescue
- Scoop rescue
- Rafted recovery
Group Management
- Multiple Swimmer Situation
- Prioritize most vulnerable
- Organize other rescuers
- Use group resources effectively
After the Rescue
Recovery Phase
- Equipment Check
- Verify boat integrity
- Check paddle security
- Confirm safety gear
- Paddler Assessment
- Monitor for hypothermia
- Check energy levels
- Assess mental state
Incident Review
- Group Discussion
- What worked well
- Areas for improvement
- Lessons learned
- Documentation
- Record conditions
- Note equipment issues
- Plan training needs
Final Thoughts
The T-rescue technique, while seemingly simple, represents the essence of paddling safety: paddlers helping paddlers.
Its effectiveness lies not just in the mechanical execution but in the preparedness and awareness it instills in the paddling community.
As you continue your paddling journey, remember that each practice session strengthens not only your individual skills but contributes to the overall safety of our paddling community.

