When it comes to kayaking, knowing how to safely overturn your kayak is just as important as knowing how to paddle forward.
Whether you’re practicing self-rescue techniques or helping a fellow paddler, understanding the proper method can mean the difference between a minor inconvenience and a dangerous situation.
This blog post focuses on the correct way to overturn a kayak. Not only does it talk about the recovery techniques but also elaborates on the weather conditions, essential equipments, training tips and safety considerations.
If you want to learn all this and more, stay right here.
Why Learn to Overturn a Kayak?
- Practice emergency scenarios in a controlled environment
- Remove water from a capsized kayak
- Assist other paddlers in distress
- Build confidence in your kayaking abilities
- Develop essential self-rescue skills for solo paddling
- Understand the mechanics of kayak stability
Essential Equipment
Before attempting any kayak recovery techniques, ensure you have:
- Personal Safety Gear:
- Coast Guard-approved PFD (Type III or V recommended)
- Whistle or other signaling device
- Appropriate clothing for water temperature
- Helmet (especially for whitewater kayaking)
- Rescue Equipment:
- Paddle float
- Bilge pump
- Towline or throw rope
- First aid kit
- Spare paddle
- Environmental Protection:
- Sunscreen and sun protection
- Appropriate thermal protection (wetsuit or drysuit if needed)
- Water and snacks for energy
Understanding Water Conditions
Safe Practice Environments
- Protected coves or bays
- Swimming areas with lifeguard supervision
- Calm lakes with minimal boat traffic
- Water temperature above 70°F (21°C) for initial practice
- Depth of at least 6 feet with clear visibility
Unsafe Conditions to Avoid
- Strong currents or tidal flows
- Areas with underwater hazards
- Heavy boat traffic zones
- Strong winds or approaching storms
- Cold water without proper protection
Detailed Step-by-Step Recovery Techniques
1. The Wet Exit (Prerequisites)
Before learning to overturn a kayak, master the wet exit:
- Practice releasing your spray skirt
- Keep one hand on the cockpit rim
- Push yourself out and away from the kayak
- Surface on the upstream side in moving water
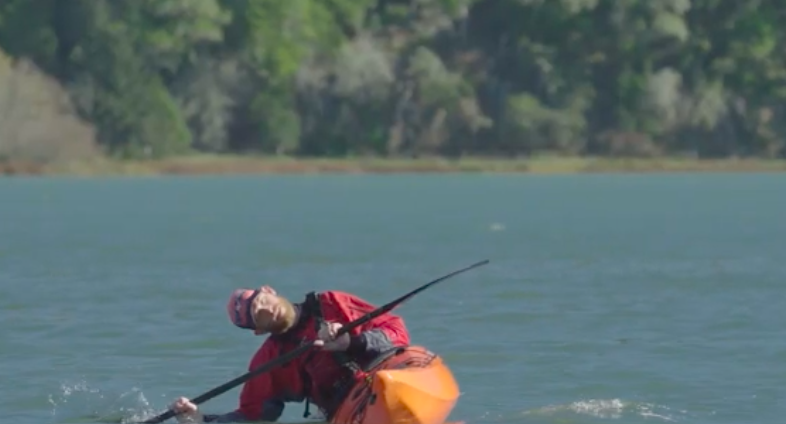
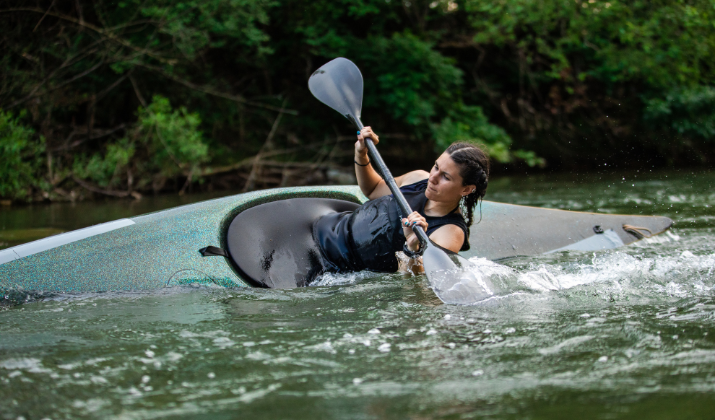
2. Basic Hip Snap Technique
Preparation Phase
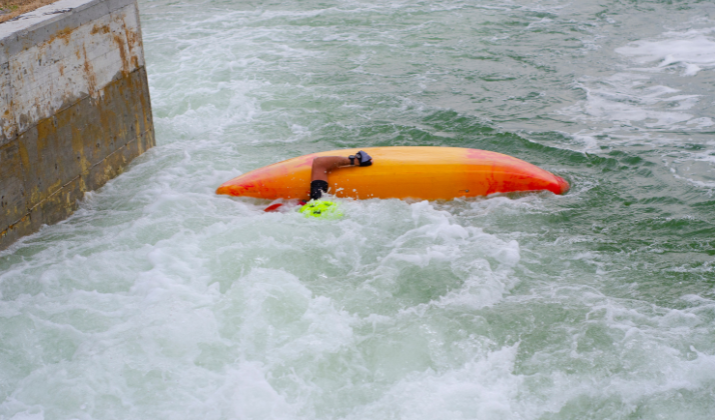
- Position yourself on the side of the capsized kayak
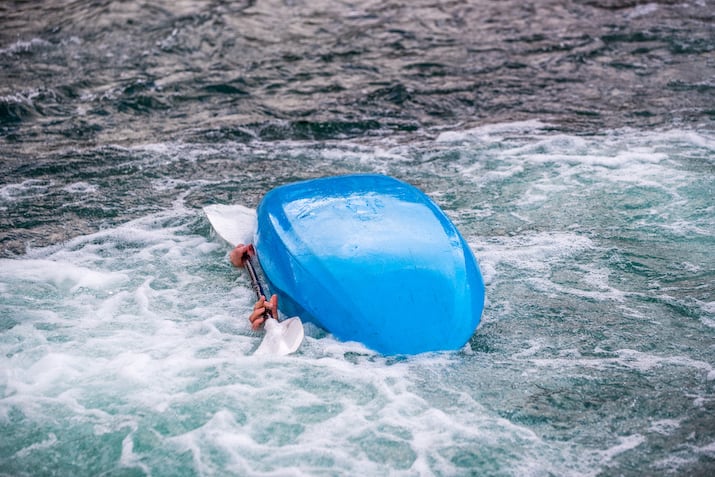
- Ensure the kayak is completely upside down
- Grab both sides of the cockpit rim
- Keep your body close to the kayak’s side
Execution Phase
- Hand Position:
- Right hand on far edge of cockpit
- Left hand on near edge
- Thumbs pointing toward each other
- Body Movement:
- Pull knees toward chest
- Keep elbows slightly bent
- Maintain contact with the kayak’s side
- The Snap:
- Push down firmly with right hand
- Pull up with left hand
- Snap hips simultaneously
- Keep head low until kayak is upright
- Recovery:
- Maintain balance as kayak levels
- Quickly center yourself
- Begin pumping out water if necessary
3. Advanced T-Recovery Method
Setup Position
- Rescuer’s Position:
- Approach capsized kayak at 90-degree angle
- Stabilize your kayak
- Communicate with swimmer
- Lifting Phase:
- Grab bow of capsized kayak
- Lift onto your deck just behind cockpit
- Drain water while lifting
- Rotation Phase:
- Roll kayak upright while on your deck
- Keep movement smooth and controlled
- Monitor swimmer’s position
- Completion:
- Slide kayak back into water
- Assist swimmer with reentry
- Stabilize kayak during reentry
Common Challenges and Solutions
1. Fear and Anxiety
- Start in shallow water
- Practice with instructor support
- Build confidence gradually
- Focus on breathing techniques
2. Technical Difficulties
- Problem: Weak hip snap
- Solution: Practice hip snap exercises on land
- Use resistance bands for strengthening
- Practice bracing techniques
- Problem: Taking on too much water
- Solution: Ensure proper spray skirt fit
- Practice quicker recoveries
- Master the use of bilge pump
- Problem: Losing paddle during recovery
- Solution: Use paddle leash
- Practice paddle management
- Learn hand-roll techniques
Advanced Skills Development
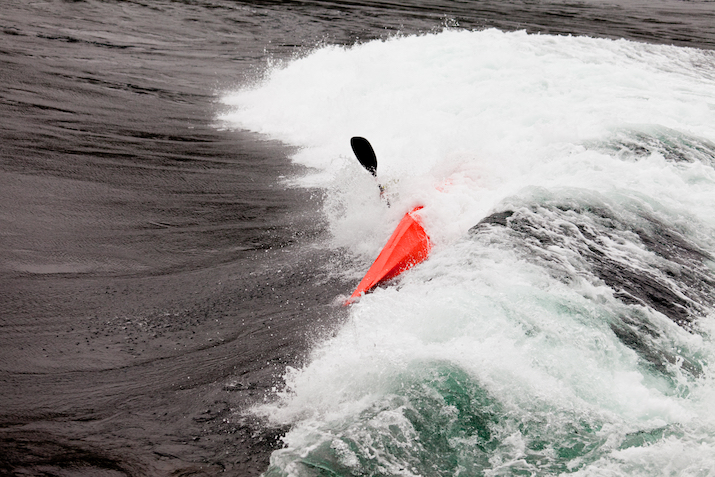
1. Solo Recovery Techniques
- Paddle float self-rescue
- Scramble self-rescue
- Roll progression
- Re-enter and roll
2. Rough Water Considerations
- Wave timing
- Wind management
- Current navigation
- Energy conservation
Training Progression
Beginner Level
- Week 1-2: Wet exits and basic safety
- Week 3-4: Hip snap practice
- Week 5-6: Basic recoveries
Intermediate Level
- Month 2: T-rescues and assisted recoveries
- Month 3: Solo recovery techniques
- Month 4: Rough water practice
Advanced Level
- Rolling techniques
- Rough water rescues
- Leadership skills
- Scenario-based practice
Safety Protocols and Emergency Procedures
Before Practice
- Check weather conditions
- Inspect equipment
- Brief partners on signals
- Establish safety boundaries
During Practice
- Maintain visual contact
- Use clear communication
- Stay within skill level
- Monitor energy levels
Emergency Response
- Know local emergency numbers
- Carry communication device
- Understand first aid basics
- Have evacuation plan
Conclusion
Mastering kayak recovery techniques is a journey that requires patience, practice, and proper progression.
Start with the basics, focus on proper form, and gradually build your skills in more challenging conditions.
We must remember that every paddler’s journey is different, and it’s essential to progress at your own pace while maintaining safety as your top priority.
Regular practice in controlled conditions will build muscle memory and confidence, making these techniques second nature when you need them most.
Consider joining a paddling club or taking advanced courses to further develop your skills and connect with the kayaking community.

