Mastering the low brace turn is an important skill for any kayaker looking to navigate rivers and rapids with confidence and precision.
The maneuver allows paddlers to change direction quickly while maintaining stability, making it an essential technique for both whitewater and flatwater kayaking.
In this blog post, we’ll dive deep into the mechanics, applications, and tips for perfecting the low brace turn.
Let’s dive in.
Understanding the Low Brace
Before we delve into the turn itself, it’s important to grasp the concept of the low brace.
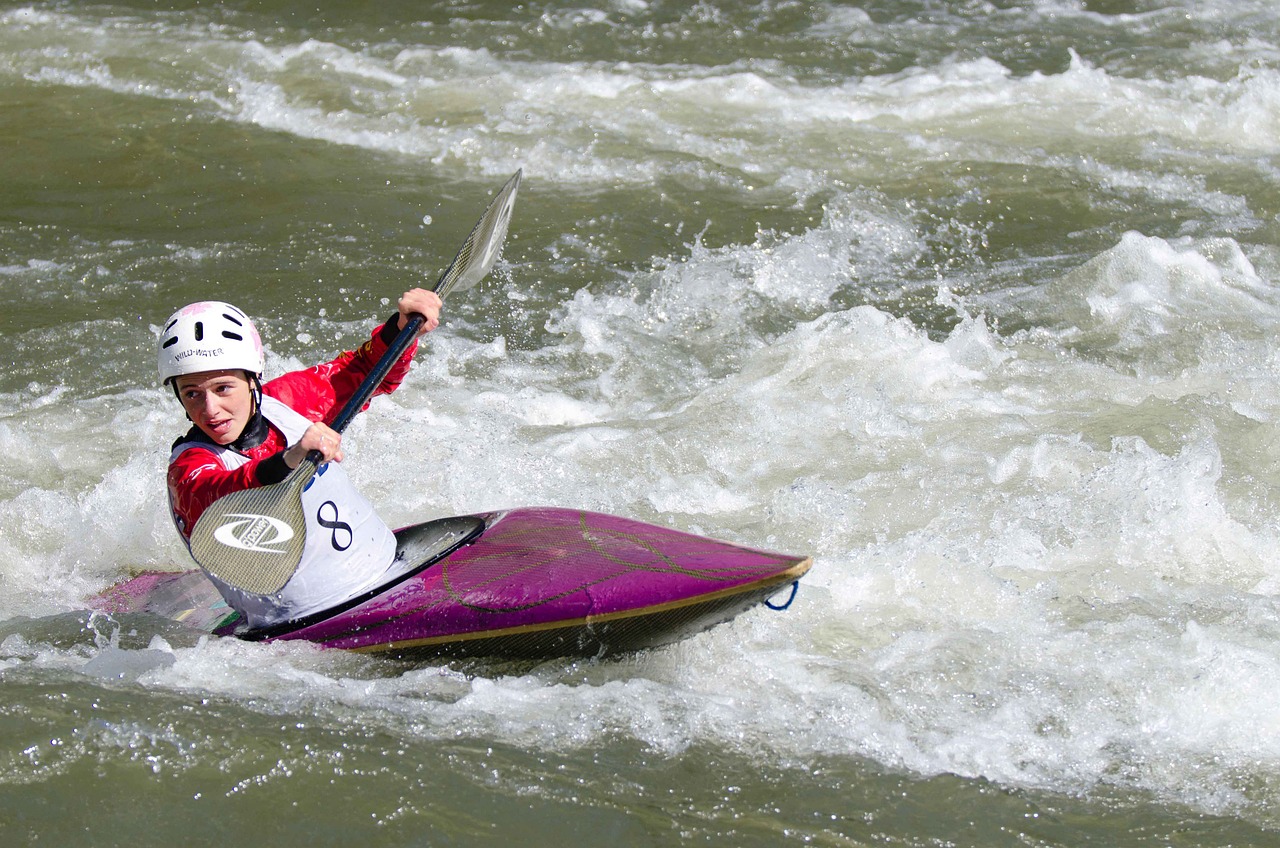
The technique involves using the back face of your paddle blade to provide support and stability on the water’s surface.
The low brace is performed with your arms low and the paddle shaft nearly horizontal, creating a wide base of support.
The Mechanics of the Low Brace Turn – 7 Key Steps
Keep in mind the following seven steps when practising the low brace turn.
1. Initial Position
Begin in a balanced, forward-facing position with your kayak moving forward.
Ensure your posture is upright with a slight forward lean, your feet are in firm contact with the foot pegs or braces, and your knees are slightly bent and in contact with the thigh braces.
Your paddle should be held in the basic paddling position, with hands shoulder-width apart and knuckles aligned with the top edge of the paddle blade.
2. Initiate the Turn
Lean your body slightly towards the side you want to turn, shifting your weight onto that hip. This lean should be gradual and controlled, not sudden or extreme.
As you lean, begin to relax the pressure on the foot peg on the turning side while maintaining pressure on the opposite side.
This weight shift starts to engage the kayak’s edge and initiates the turning motion.
3. Paddle Placement
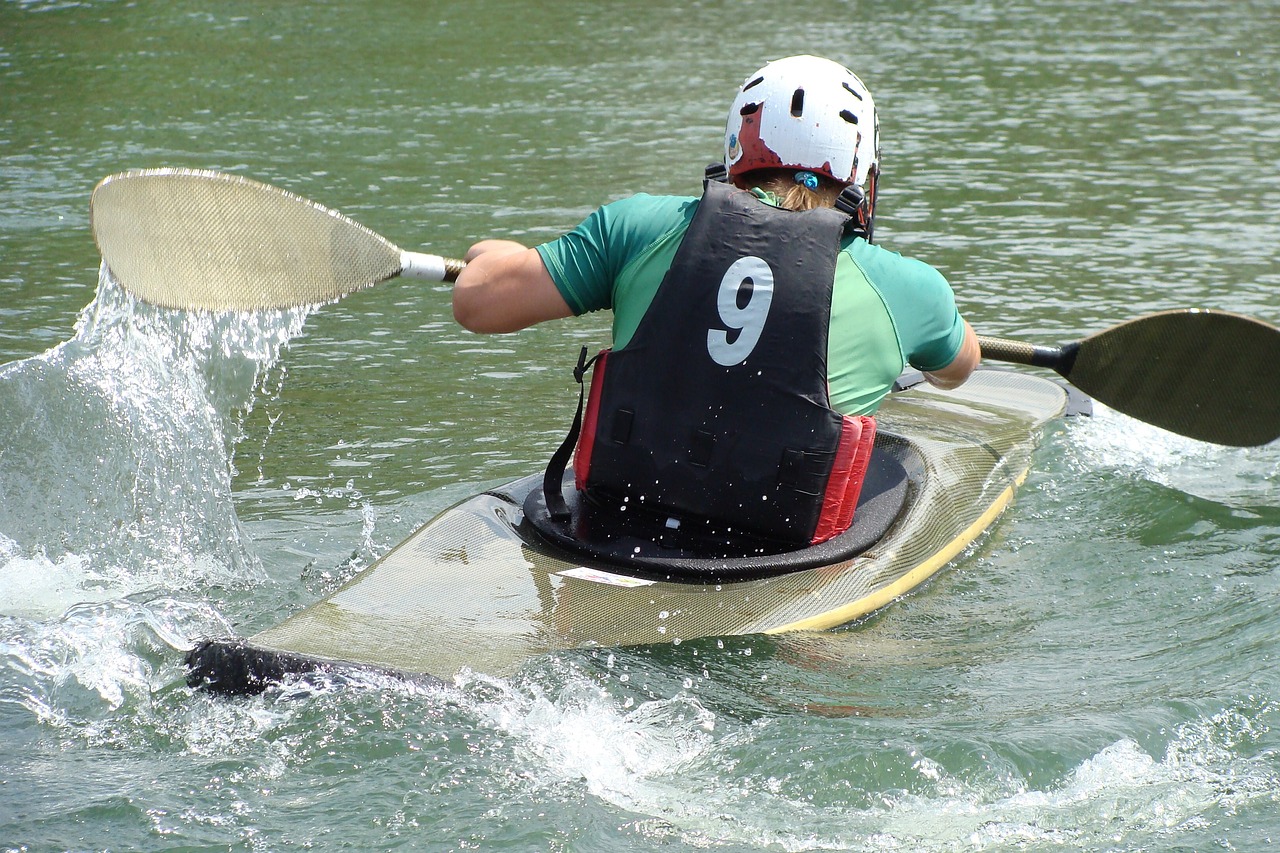
As you lean, extend the arm on the turning side and place the back face of the paddle blade on the water’s surface, just behind your hip.
The paddle shaft should be almost parallel to the water, with the blade angled slightly downward to catch the water’s surface.
Your wrist should be straight, with your knuckles facing upward. This position allows for maximum stability and control during the turn.
4. Body Rotation
Rotate your torso towards the direction of the turn, keeping your eyes focused on where you want to go.
This rotation should start from your core, with your shoulders following the movement. Your head should be the last to turn, maintaining visual contact with your intended path throughout the maneuver.
This body rotation helps to power the turn and sets you up for the next paddle stroke.
5. Edge Control
Lift the knee on the opposite side of the turn to engage the edge of your kayak, helping it carve through the water.
As you lift this knee, press down with the opposite hip. This combination of movements tilts the kayak onto its edge, reducing its water resistance on the turning side and allowing for a tighter, more efficient turn.
Be careful not to over-edge the kayak, as this can lead to instability.
6. Power Application
Apply gentle pressure on the paddle blade against the water, using it as a pivot point for your turn.
This pressure should be firm enough to provide support and assist the turn, but not so hard that it stops your forward momentum entirely.
Think of it as a controlled slide rather than a hard stop. As you apply pressure, continue rotating your torso to maintain the turn.
7. Follow-Through
As your kayak completes the turn, smoothly recover the paddle and resume your forward stroke.
This recovery should be a fluid motion, bringing the paddle back to the normal paddling position without disrupting your balance or the kayak’s new heading.
As you complete the turn, gradually level out your kayak by releasing the edge control and centering your weight.
Be prepared to take a forward stroke on the opposite side to maintain your speed and new direction.
Key Benefits of the Low Brace Turn
Here are some benefits of the technique.
- Stability: The low brace provides a wide base of support, reducing the risk of capsizing during the turn.
- Efficiency: It allows for quick direction changes without losing much forward momentum.
- Versatility: This technique is effective in various water conditions, from calm lakes to turbulent rapids.
Common Mistakes and How to Avoid Them
Avoid these mistakes when performing the low brace turn.
- Overreaching: Extend your arms comfortably; overreaching can lead to shoulder injuries.
- Passive Upper Body: Engage your core and rotate your torso for a more powerful and controlled turn.
- Neglecting Edge Control: Remember to lift your opposite knee to utilize your kayak’s edge effectively.
- Looking Down: Keep your eyes on your intended path, not on your paddle or the water beside you.
Practice Drills for Improvement
By practising the technique over time, you’ll become better at it. Consider doing these.
- Stationary Bracing: Practice low braces while stationary to build muscle memory and confidence.
- Slalom Course: Set up buoys or natural markers to create a course for practicing consecutive turns.
- Speed Variations: Practice the turn at different speeds to prepare for various paddling scenarios.
- Rough Water Simulation: Once comfortable, try the technique in slightly choppy conditions to challenge your skills.
Advanced Applications
As you become more proficient, you can incorporate the low brace turn into more complex maneuvers:
- Linking Turns: Chain multiple low brace turns to navigate technical rapid sections.
- Combining with Sweeps: Use a sweep stroke to initiate the turn, then transition into a low brace for added control.
- Surfing Waves: Employ the low brace turn to maintain position while surfing river waves or ocean swells.
Conclusion
The low brace turn is a fundamental skill that opens up a world of possibilities for kayakers.
By understanding the mechanics, practicing regularly, and applying the technique in various situations, you’ll enhance your overall paddling performance and safety on the water.
Like any skill, mastering the low brace turn takes time and patience. The key is to begin in calm conditions, focus on proper form, and gradually challenge yourself as your confidence grows.
With dedication, you’ll soon find yourself navigating waterways with newfound agility and better control.

