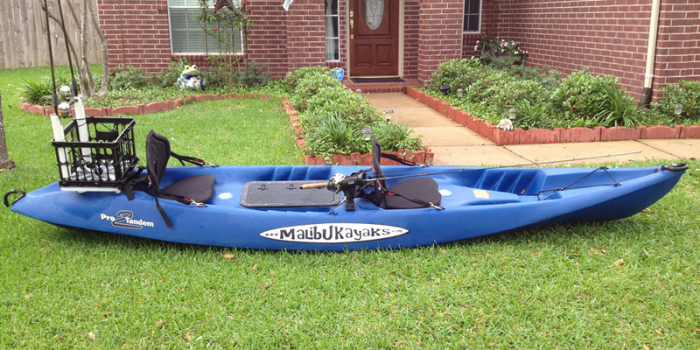
Learning to lift and carry a kayak correctly is fundamental to removing it from a car rack, transporting it to the water’s edge, portaging it, and even storing it correctly.
Many kayaks, especially touring and sea kayaks, can be both long and heavy, so using the correct technique is vital when lifting and carrying a kayak safely.
To help you master these techniques, we’ve put together this article highlighting the best methods for lifting and carrying a kayak, and what you can do to make the task easier and safer.
Simplifying the Task
The best way to lift and carry a kayak safely is to take every opportunity to make the task as simple and straightforward as possible. Here are a few ways you can achieve that:
Plan Ahead
When planning your kayaking trip, take into account how you plan to move your kayak, how often you will need to carry it, and what sort of ground you will need to carry it across.
If there is a possibility that you will need to portage your kayak, try map out the area you will need to port it across. It’s also a good idea to understand the terrain in the area and get a good idea of any potential obstacles.
Drag Where You Can
If you kayak comes with a built-in skid plate, then don’t be afraid to drag it instead of carry it where possible. Dragging your kayak significantly reduces the physical strain on you and is far more sensible than attempting to carry a heavy or unwieldy on your own. Dragging works best with plastic kayak hulls as composite hulls can be damaged by rocks.
Buy a Kayak with Carry Handles
Many kayaks come fitted with rubberized carrying handles to make lifting and moving the kayak easier. If you are planning you buying a heavier or longer kayak, such as a touring kayak, then look for models that have carrying handles.
Use the Right Equipment
Using the right tools can also make the job of carrying your kayak significantly easier. Investing in a trolley will cut down on the effort of moving your kayak and the right car rack will make it drastically easier to load, transport, and unload again
If you are having trouble loading your kayak onto your car rack, then this video shows you the easiest way to do it:
Lifting a Kayak by Yourself
Step 1: Prepare to Lift
Make sure you are on level ground and place the kayak with its bow facing the direction you will be traveling in. Stand by the side of your kayak, facing the cockpit.
Step 2: Lift with Your Knees
When you are correctly positioned, bend your knees and grasp the inner edge of the cockpit with both hands. Being careful to lift with your knees rather than your back, lean back and pull the kayak on to your thighs, with the cockpit facing away from you.
Step 3: Flip the Kayak Over
With the kayak resting on your thighs, let go with one hand and grasp the other side of the cockpit with one hand and use it to pull the kayak against your thighs.
Having braced the kayak against your thighs reach across with your second hand. Turning your body toward the direction of travel, roll the kayak up and onto your shoulder. Use the arm that is inside the cockpit to steady the kayak.
Rolling the kayak up on to your shoulder can be tricky, particularly the first time you do it. Check out this video to see how it should look:
Lifting a Kayak with Two People
Step 1: Prepare to Lift
Make sure you are on level ground and place the kayak with its bow facing the direction you will be traveling in. Have one person stand at the stern and one at the bow on either side of the kayak.
Step 2: Communicate
Have each person grasp the carrying handle or toggle and, on a prearranged signal, lift the kayak. To avoid injury, maintain communication, lift with the knees and not the back, and at this point, do not lift the kayak above the waist.
Step 3: If Necessary, Lift to the Shoulders
If you are transporting your kayak a short distance, such as from your car down to the water’s edge, then there isn’t much need to raise the kayak above waist level. If you are portaging through close terrain or carrying your kayak over a long distance, then, on an arranged signal, lift the kayak up so it rests on your shoulder.
If you are finding it difficult to visualize how that would work, then check out this video:
Tips for Carrying Your Kayak
- Plan in advance and understand the area you are moving through. This is especially relevant in portaging where dense underbrush and potential falls can make carrying your kayak more difficult.
- Carry the kayak in short bursts and take frequent breaks, especially if you are forced to carry it over a considerable distance. Switch shoulders on each break to avoid bruising.
- If you have a composite kayak, take special care when placing it back on the ground or when it might potentially be knocked into obstacles. Unlike harder wearing plastic hulls, composite hulls are vulnerable to cracking if struck hard.
Moving Forward
Lifting and moving a heavy kayak can be difficult and if done incorrectly, potentially dangerous.
However, since getting your kayak into the water is a vital part of kayaking, learning how to lift and move your kayak is a skill every kayaker has to learn. The best way to lift your kayak safely is to plan ahead, make sure you have the right equipment, and understand the techniques.
If you are lifting a kayak with a friend, make sure you continue to communicate at all times and only carry the kayak short distances.
While the weight and length of some kayaks might seem daunting, mastering the carrying techniques we’ve listed above will mean you spend less time struggling on land and more time in the water.


