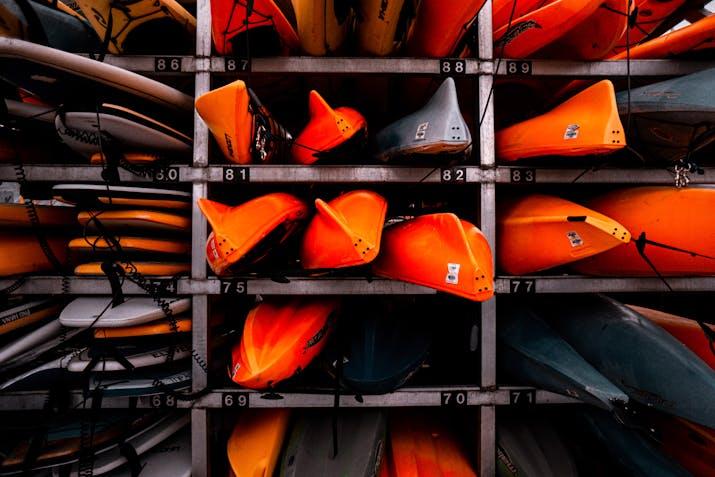
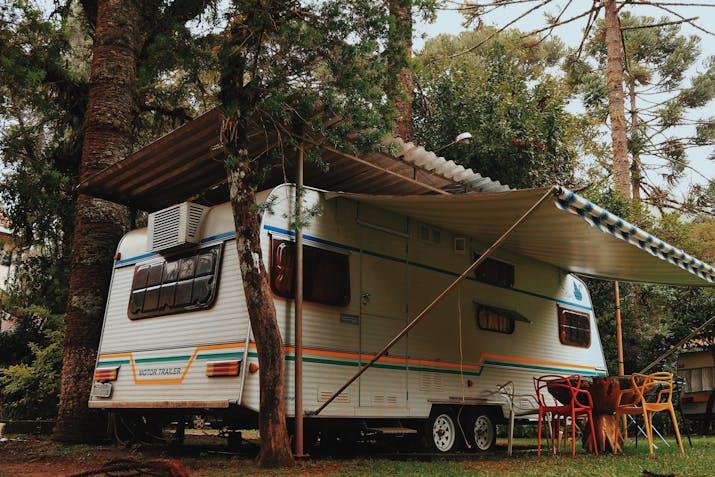
Are you trying to build your own kayak rack for your RV?
Whether you’re unsatisfied with the commercial options available online or you just prefer to enjoy the work of your own hands, building your own kayak rack is rather straightforward.
In this guide, we will be showing you how to build your own kayak rack, so continue reading!
Quick Summary
- The first step is to gather the required materials.
- You will need PVC piping, nuts, screws, bolts, mounting plates, brackets, PVC glue, foam, and coating.
- You will also need tools such as a drill and pipe cutter and protective glasses and gloves.
- Next, you should create a quick sketch of the rack, including the height and width to fit your kayak.
- Then, drill holes into your RV, assemble your rack, and mount it on the rear of your kayak.
Finally, test it to ensure that it is stable and secure before using it.
Start by Gathering the Required Materials
Photo by Pexels
The first step is to gather the required materials for your RV kayak rack. I recommend using PVC pipes.
PVC stands for Polyvinyl Chloride. It’s a cheap and affordable thermoplastic that is also incredibly durable, making it the perfect choice for a DIY kayak rack. It is also a common material used to make kayaks themselves.
And, if you have any PVC left over after you make the rack, you can use it to make a PVC kayak cart.
Photo by Pexels
You’ll be using the PVC pipes to construct the frame of the kayak rack. You’ll want pipes with a two-inch diameter for the right amount of strength, although 1.5 inches can work as well.
PVC pipes are my favorite because they’re easy to connect to each other to build out the frame. All you need is PVC pipe fitting to fit pipes together; you can use elbows and couplers to connect them together. T-joints are another option.
An alternative is aluminum tubing. It’s more expensive than PVC pipes, but on the flip side, it is also more durable. In that case, you will need aluminum connectors to connect the tubing together.
In addition to the PVC piping (or aluminum tubing, whichever you decide to go with), you will need mounting brackets to mount the pipes to your RV. You will need strong mounting brackets that can not only attach the rack to the RV but also hold the weight of your kayak.
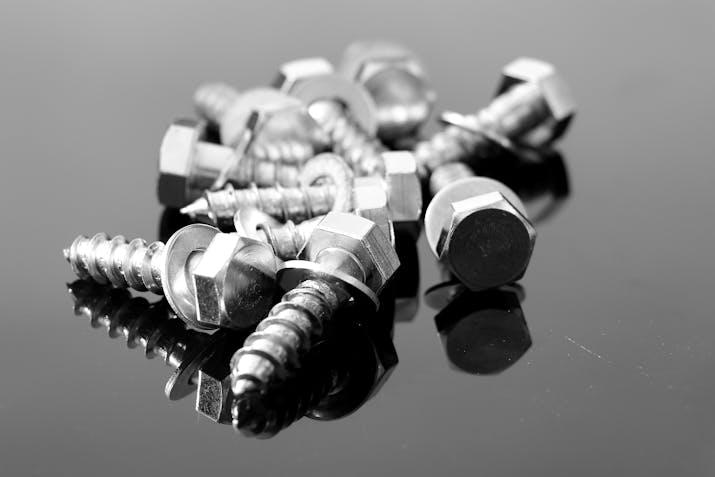
So, look for heavy-duty brackets. You will need screws, buts, and bolts as well so you can bolt them into your RV.
I recommend installing steel mounting plates onto your RV first, so you can attach the tubing to it, which makes things a lot easier.
That way, you can easily take off the kayak rack when needed.
Get galvanized steel screws, nuts, and bolts so they don’t rust. Then, you will be able to attach the DIY kayak rack to the RV by drilling the mounting brackets to the mounting plates that you already attached to your RV.
You can drill them directly into the RV’s skin. It is the most secure method of them all, but of course, you will need the proper tools for that as well – more on that in the next section.
An alternative, if you don’t want to risk drilling directly into your RV, would be to purchase structural adhesive. Structural adhesive tape is really strong, and it will be able to hold your kayak rack to the RV without any issue, providing you have a light kayak.
If you have a large or heavy kayak, or if you want to load on two or three kayaks, though, I would start to get worried about the strength of the adhesive tape, especially if you will be driving around on bumpy roads.
There are some other materials you will need as well. If you are using aluminum tubing, you’ll want a rust-resistant coating to prevent them from rusting when you load wet kayaks onto them.
Some foam will also be useful. Foam padding will help protect your kayak from scratches, dings, and other damage that can easily occur when transporting it on an RV.
Also, make sure to properly store your kayak to avoid damage when not in use. Building a kayak shed is a good option if you like building stuff.
Another thing you should consider buying is pipe glue, also known as PVC glue or PVC cement. This can help ensure the structural integrity of your kayak rack, as simply using the connectors might not be enough.
Gather the Tools You Will Need
Photo by Pexels
Once you have all the required materials, you aren’t ready to start just yet! The next step is buying the tools you will need to build the kayak rack, if you don’t yet have them.
First things first, you will need a saw or pipe cutter. The PVC pipes will need to be cut to varying lengths to fit into your rack, and a saw or pipe cutter will be required.
A pipe cutter is best, but if you have aluminum tubing, a saw may be better.
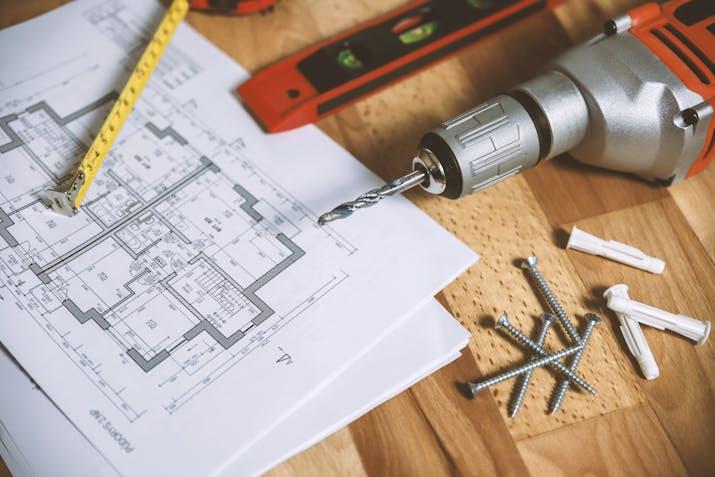
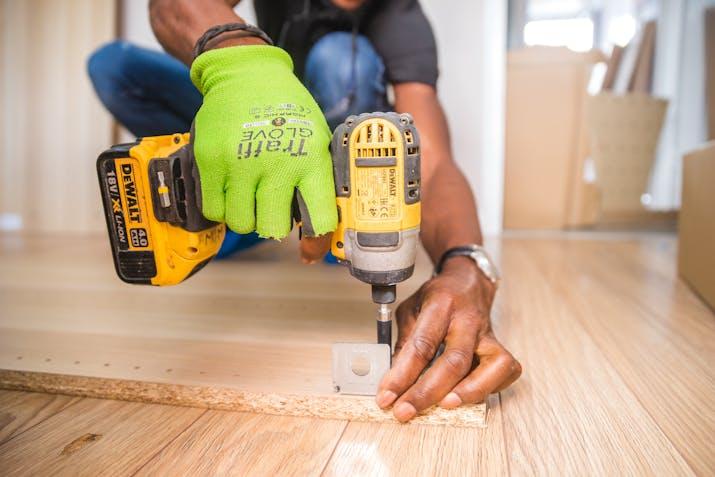
Next, you will need a drill so you can drill the bits and screws and get the whole thing securely assembled together. A wrench will also be needed to get things as secure as possible.
You will also need a measuring tape, so you can measure the correct lengths of the pipes. Another tool you will need is a level, which you will be using to ensure that the mounting plates are properly leveled and aligned.
Cleaning materials should be on hand as well. You will need to clean the RV before putting the mounting plates on, so that any dust or debris doesn’t get in the way.
Don’t forget safety equipment! You will need eye protection goggles to protect your eyes from damage when cutting pipes or working on the kayak rack in general. A good pair of gloves is important as well to protect your fingers.
Measuring and Planning
Photo by Pexels
Did you get all the equipment and materials you will need to build the kayak rack? Great!
You are now ready to get started with the building process – well, almost. First, you have to do a bit of measuring.
Start by measuring the length, width, and thickness of the kayak. You will be using these measurements to build the kayak rack, so you avoid building a rack that is too short.
You will also need the height/length of the kayak so you know where to position the rack on your RV. If you have a long kayak but position the rack too low down, it can scrape against the road.
The next step is to measure your RV. People usually opt for a vertical rack and place a kayak rack on the rear bumper of the RV rather than a roof rack.
This is best for RVs, because RVs tend to be very tall, which makes accessing roof racks quite difficult. That is especially true if you are lifting and unloading a heavy kayak.
By measuring the back of your RV, you can figure out how much space you have and how to best position the rack on the back of your RV.
Not only do you need to make sure that the RV is tall enough, but you also need to make sure that it is wide enough, so that the rack can fit comfortably on the RV’s rear end.
Create a Plan
Photo by Pexels
Once you know how long and wide your kayak rack will be and where on the RV it will go, you need to sketch a quick plan for the kayak rack. I do not recommend figuring it out as you go along.
Having a plan will help you get things done quicker. It will help you avoid avoidable frustrations that you may otherwise experience when building out your rack.
Create a quick sketch diagram of the kayak rack. Specify how long each piece of piping will be and the type of connector you will be using to connect each pipe (whether that’s an elbow joint, regular connector, etc.).
It’s pretty simple to make and won’t take long. You don’t need to be a master architect for this – it’s just to help guide you once you get to the actual construction.
You will want to add a bit of leeway so that the height is a bit longer than the kayak. Your kayak must also be at least 1.5-2 feet from the ground – a bit of extra clearance is important.
You will also need to account for the horizontal bars that connect the rack to the RV rear bumper for added support. A few extra crossbars should be added for stability as well.
In your plan, you also need to account for mounting brackets. How many of them will you need? Where will they go?
Of course, you can’t forget about screws and bolts. How many of them will you need, and where will they be placed?
Once you have your rack visualized, you are ready to go to the next step, which is building and constructing the actual rack.
Preparing the Materials
Photo by Pexels
Now is the time to start cutting the materials with the equipment you purchased. I recommend using a pipe cutter.
If you are using a saw, that’s fine.
Just make sure to use a measuring tool and a marker to mark the lengths of the pipes you will be cutting, as defined in your diagram sketch. Then, use the pipe cutter to cleanly cut the pipe at the mark.
Take some sandpaper and smooth out the edges to remove any roughness. That is especially important if you are using a saw.
Rough and sharp edges could scratch and damage your kayak, and you don’t want that.
You will also need to cut the foam insulation so that it fits the bars. The foam insulation is most important on the horizontal bars where the kayak rests, but you can cover the vertical bars as well.
That will help keep your kayak safe from damage.
Remember to use protective glasses and gloves as you drill! Safety first!
Putting Together the Rack
Photo by Pexels
The next step is assembling the rack. You have all your cut pieces at this point, so it’s just a matter of putting them together as per your plan.
You will use connecting bits to put them together. Where necessary, you will use PVC glue to strengthen the connections.
You should also take this time to put on the foam protection. Some adhesive tape or glue will work for this.
Before you put together the rack, though, you might want to coat the pipes with protective coating, if you have any, or paint them. This is an optional step, though.
Drilling Holes
Photo by Pexels
The next step is drilling the holes in your RV for your mounting bracket. It’s important that you make sure not to drill any holes where there is electrical wiring or plumbing inside your RV, as that would be quite disastrous!
Once again, use a marker to mark the spots you will be drilling. Start by drilling small pilot holes, which you will later use to guide you as you drill deeper holes.
Mounting the Rack
Photo by Pexels
Finally, the time has come to mount the rack to your RV.
First, you will need to mount the mounting plates to the RV. You will align the plates with the holes you drilled, using a level if you need one to ensure they are aligned and leveled properly.
If you are using adhesive tape to connect the mounting brackets, use the level to make sure they are mounted properly and use a measuring tape to ensure the correct height and width is achieved between the plates.
Use a drill and wrench to secure the screws, nuts, and bolts. Secure them tightly, but don’t overdo it – trying to be too tight can strip the holes.
A good idea is to apply some sealant around the holes. That will protect them from weather damage by preventing water from getting inside when it rains.
Testing Your Setup
Photo by Pexels
Congratulations!
You have now completed the setup for your kayak rack. However, your work is not done just yet – there is still one final step you must take, which is the final test to ensure that everything is working just right.
You don’t want to load your kayak onto your kayak rack only for it to fall off in the middle of the highway! That is extremely dangerous and could cause a serious accident.
First, shake the kayak rack. You want to check for any red flags like wobbliness or shaking – that means that it is not secure enough, in which case you would need to tighten the bolts.
Once you have ensured that the kayak rack itself is securely attached to your RV, you will need to make sure that the kayak can fit on it. Put on the kayak and then strap it on with rope or straps.
Shake the kayak to see if it’s securely attached.
Now, it’s time to take your RV for a short test drive around the block before you take it on the freeway. Do you hear any shaking or scratching?
After you finish your test drive, make sure the kayak is still securely attached and has not become loose.
If all looks good, you are now ready to load your kayak on the rack and head off on your adventure.
Conclusion
Building your own kayak rack isn’t all that hard.
As long as you can source some basic materials and equipment, such as PVC pipes, nuts, bolts, a pipe cutter, and so on, you can build one yourself.
It doesn’t require a lot of expertise, either. Just go ahead and do it, and you’ll thank yourself later!
And, if you liked building that, we are sure you would love our guides on how to build a kayak and how to make a DIY kayak trailer.
