Whether you want to take pictures or simply take rest from doing all that strenuous paddling, an anchor is an essential piece of kayaking equipment to have.
Being able to anchor your kayak will give you a lot more versatility and flexibility when kayaking.
Knowing how to anchor your kayak is critical if you like to go kayak fishing. Stabilizing your kayak in one place will free up your hands and let you focus on catching fish.
In this guide, we will be teaching you how to anchor your kayak.
The short version: Buy an appropriate kayak anchor, such as a grapnel or mushroom anchor, depending on the type of kayaking you do, the waters you kayak in, and your needs. Then, anchor the kayak by slowly letting it descend into the water and tying the end to your kayak handle or anchor trolley system.
Read on for the full guide.
Types of Kayak Anchors
Image Source : Shutterstock
There are many types of anchors you can use for your kayak. Let’s discuss the most common types and how each one works.
Drag Anchor
A drag anchor, sometimes called a drag chute, isn’t actually an anchor. Instead of securing your kayak in one place, it slows it down so that you drift along the water rather than go fast with the current.
That gives you time to catch fish.
It is also called a sea anchor when used in the ocean.
Folding/Grapnel Anchor
Image Source : Shutterstock
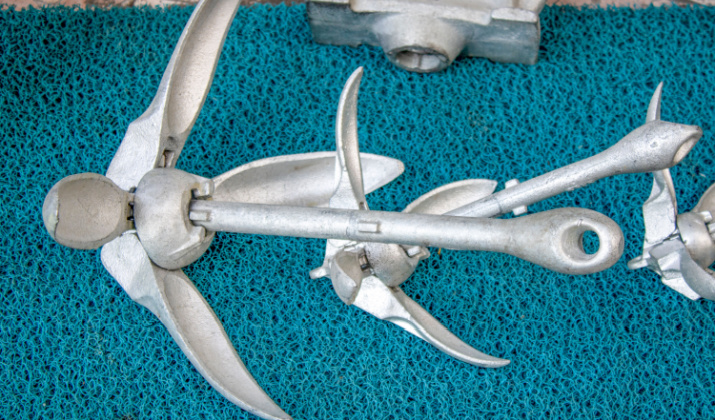
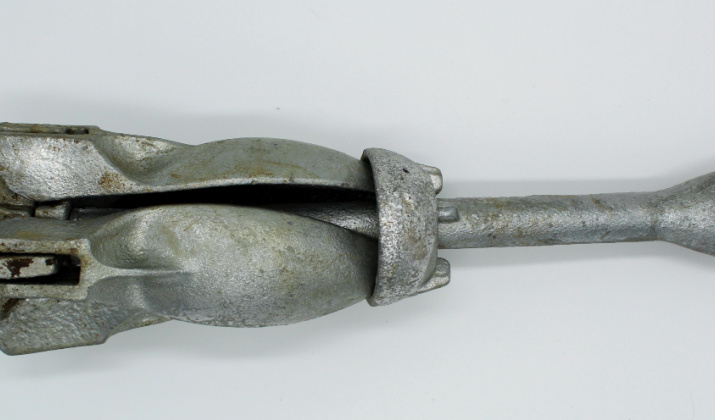
A grapnel anchor is a type of anchor with four flukes that fold closed when not in use. That’s why it’s also called a folding anchor.
These anchors are small, portable, and lightweight.
You attach the anchor to a long rope or chain. The flukes dig into the ocean floor and secure your kayak.
The weight and size of your grapnel anchor should depend on how deep the waters are and how heavy your kayak is.
Pole Anchor
A pole stakeout or pole anchor is exactly what it sounds like. It’s best for shallow waters.
You simply stick the pole through your boat and into the sand at the bottom of the water, thus securing it in place. You can stick it through a scupper hole, though it’s recommended to get a special attachment with a hole inside for the pole.
Claw Anchor
A claw anchor is an anchor with three flukes at the end that look like a claw. While they are best for sandy bottoms, they can also work on gravel and slightly rocky bottoms.
In very rocky beds or in clay bottoms, though, they’re not as useful.
Delta Anchor
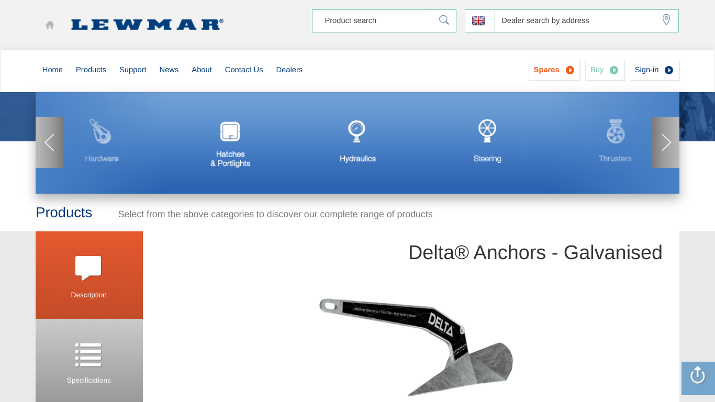
A Delta anchor is a trademarked anchor made by Lewmar. Featuring a shank profile and ballasted tip, its unique design allows it to securely hold your kayak in place.
Made of high grade manganese steel, it comes with a lifetime guarantee against breakage. Since it can be somewhat heavy, it’s mostly recommended for heavier kayaks in fast tides and deep waters.
Mushroom Anchor
Image Source : Shutterstock
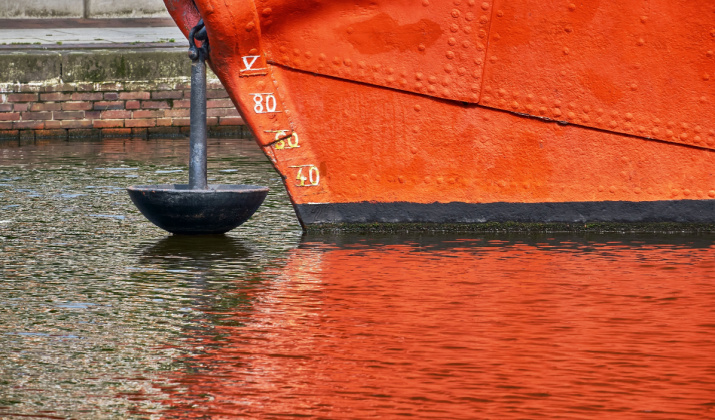
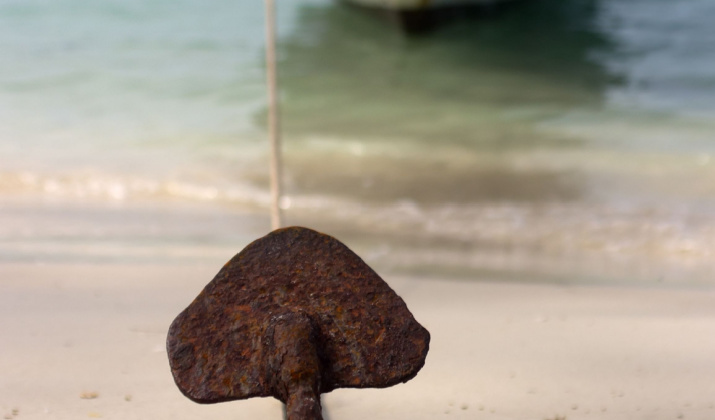
A mushroom anchor is basically a heavy weight that is shaped like a mushroom, but upside down. Instead of embedding itself in the sand, it just weighs down your kayak.
That makes it easy to retrieve, since it doesn’t get stuck anywhere. At the same time, it’s not as secure as a claw or grapnel kayak.
In addition, since mushroom anchors rely heavily on their weight, they are often pretty heavy, so it can be a bit of a burden to carry around.
Plow Anchor
Image Source : Shutterstock
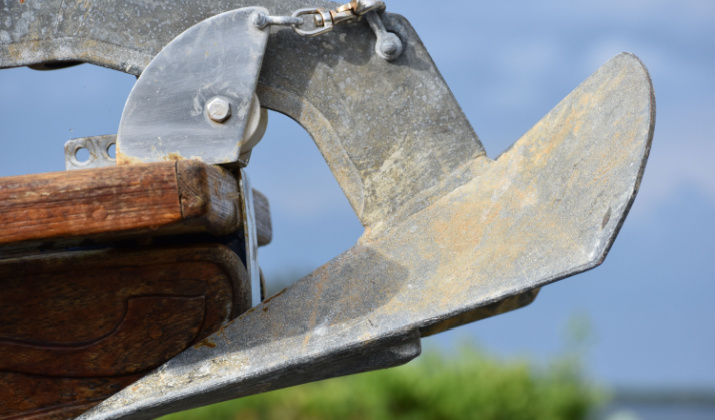
A plow anchor looks like a farmer’s plow. They have a long shank with two flukes.
Plow anchors offer excellent stability and are great for gravel and even sand.
They can work in rocky bottoms too, although they may struggle to get a good grip at times.
Brush Gripper
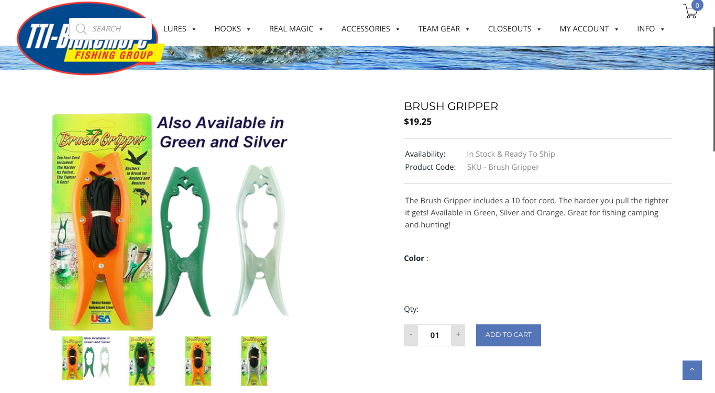
Brush grippers, unlike other anchors, don’t attach to the ocean bed. Instead, they attach to trees, bushes, branches, weeds, or anything else.
Of course, you have to grip it onto something secure. If you put it on weeds that are easily ripped out of the ground or branches that are weak and can break easily, you will find yourself drifting away from shore before you know it.
Also, it only works for anchoring close to shore. If you want to anchor far from shore, you will need another type of anchor.
Still, these anchors are inexpensive and easy to use. The gripper has a long rope that attaches the gripper to your kayak.
How To Choose an Anchor for Your Kayak?
Image Source : Shutterstock
Now that we’ve discussed the different types of kayak anchors, which one is most suitable for you?
Here are some things to consider when buying an anchor for your kayak.
Size and Weight of Your Kayak
Image Source : Shutterstock
The larger and heavier your kayak is, the heavier or more secure the kayak anchor will need to be. If you have a very large and heavy kayak, for example, I would recommend a grapnel, claw, or Delta anchor.
The idea here is that you want something to actually embed itself in the ocean floor, instead of using something like a mushroom anchor or a drag chute.
On the other hand, if you have a lighter kayak, you can often get away with something like a brush gripper, drag chute, or mushroom anchor.
Bottom Conditions
Image Source : Shutterstock
You also have to consider the type of waterbed you will be kayaking over as well as the water conditions.
In shallow waters, a pole stakeout is a great option. However, in deeper waters, you will need a heavy and strong anchor.
For example, a grapnel anchor might work well. Two pounds might be enough, but if you are in waters that are over 100 feet deep, you might want to go for a four pound or even six pound anchor.
Rocky bottoms can be tricky.
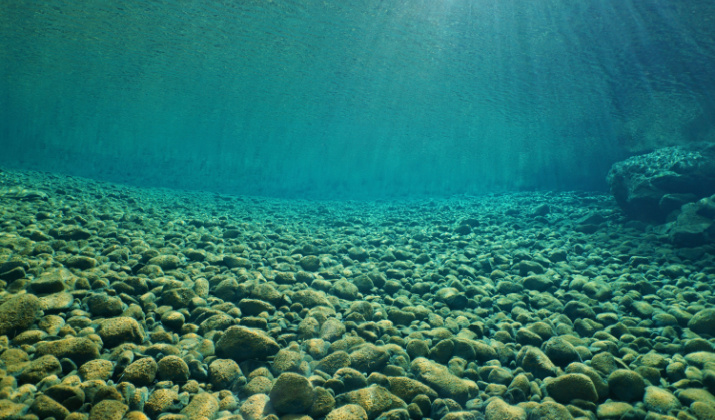
You might go for something like a mushroom anchor. A mushroom anchor doesn’t need a grip to work.
If you require something that is more secure, a plow anchor will usually work better on rocky bottoms than something like a claw anchor. Grapnel anchors are also pretty good, but you risk getting them stuck.
The problem with using grapnel anchors on rocky bottoms is that they can’t penetrate deeply. Instead, they will merely snag on the edges of rocks and protrusions.
That makes them slightly less suitable for such types of bottoms. Typically, plow anchors are somewhat more suitable for such types of bottoms.
For hard sand or mud, though, fluke, plow, and claw anchors are amazing. They can easily penetrate the bottom, and unlike in soft sand or mud, they will stay there.
Both grapnel anchors and mushroom anchors work well on soft sandy bottoms, too. A mushroom anchor doesn’t need to secure itself to anything, and a plow anchor, given enough time, can securely embed itself in the floor.
While mushroom anchors are great for sandy bottoms, they aren’t that great for rocky bottoms, as they will crash and bounce off the rocks.
Water Conditions
Image Source : Shutterstock
It also depends on the water and weather conditions. Mushroom anchors and drag chutes are awesome for calm waters.
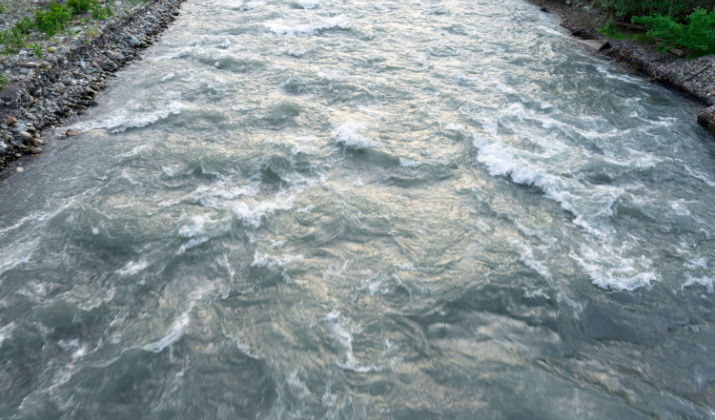
For heavier tides and strong rapids, you will need something that will stay secure. Even a brush gripper might not be a good option if the tides are strong enough to break it off those branches.
Instead, go for something like a plow or grapnel anchor.
What You Need It For
If you only need to anchor yourself for a short while, a mushroom anchor is great. However, if you need to anchor your kayak for a long time while you wait for schools of fish to make an appearance, a mushroom anchor might not be reliable enough.
Instead, you might consider a plow or grapnel anchor.
You can also combine two types of anchors.
For example, a stakeout pole with a brush gripper are the perfect combination. Similarly, a stakeout pole with a mushroom anchor is great as well.
The stakeout pole by itself might not be strong enough, but combining it with something else gives you the security you need.
Manual vs Automatic
One thing to think about is whether you want a manual anchor or an automatic one.
Manual anchors are generally cheaper and more affordable. They are also typically lighter.
At the same time, they require manual work.
Meanwhile, automatic anchors allow you to deploy the anchor with the push of a button or flip of a lever. They are typically more expensive and may weigh down your kayak more.
However, they are also more convenient and easier to use, as you don’t need to manually deploy the anchor.
Some automatic anchors may also come with features such as depth control and may offer better precision in how they are deployed, ensuring your kayak is more secure.
DIY Anchors vs Manufactured Anchors
Image Source : Shutterstock
Generally, manufactured anchors are best, because they do the best job at securing your kayak in place.
You can also make DIY anchors, though. Depending on the type of anchor you make, they may be well suited for your purpose, and you can save some money.
One type of DIY anchor is a brick anchor. It involves drilling a hole through a brick or securely attaching a closed ring to the top.
Then, you loop a rope through the ring or the hole in the brick and drop the brick down into the water. The weight of the brick will hold your kayak in place.
Another option is filling a flower pot with concrete and then attaching a closed ring to the top. This will usually be a bit heavier than a brick and more efficient.
Another type of DIY anchor is a drag chain. A drag chain is basically a long, heavy metal chain that weighs down your kayak and drags across the ocean floor.
You can use any kind of heavy metal chain.
Drag chains can even work on rocky bottoms.
Some other DIY kayak anchor ideas include filling a milk carton with sand and filling a PVC pipe with concrete.
So, is a DIY anchor right for you?
If you’re an angler, probably not. However, if you mostly kayak in calm waters, and you only occasionally use an anchor to slow yourself down, a DIY anchor can be a good choice.
At a low cost and minimal effort, you can create a perfectly functional anchor that suits your needs.
How to Anchor Your Kayak?
Once you’ve purchased your kayak anchor, it’s time to attach it to your kayak. There are a few ways of doing this.
If the anchor is attached to the rope, you can tie it to the transportation handles on the bow or stern.
The advantage of this method is that you don’t need additional equipment. However, the disadvantage is that deploying and retrieving the anchor can be somewhat difficult, especially if the kayak is long and your seat is a bit far from the bow and stern.
Therefore, I recommend getting an anchor trolley. An anchor trolley consists of a rope that goes around the outside length of your kayak, with a ring to attach the anchor line to.
You then have pulleys that allow you to control the position of the anchor line.
An anchor trolley is an excellent invention that will make your life significantly easier. You can use it to change the position of the anchor from the bow to the stern and control it all from the comfort of your seat.
Other options include a cleat, which doesn’t offer the flexibility of an anchor trolley, but rather makes it easier to attach the anchor line to your kayak securely.
If you are using a stake out pole, get some sort of pole attachment that has a hole in it in which to insert the pole.
How to Deploy the Anchor?
Image Source : Shutterstock
Deploying the anchor is relatively simple. If you have a manual anchor, here is how to deploy it.
First, make sure it is securely attached. If you are using an anchor trolley, make sure that it is positioned in the place you want it.
Also, make sure your kayak is positioned correctly. Ideally, it will be facing the wind or current for added stability.
Start by slowly lowering the anchor into the water, holding on to the anchor line or rope throughout. Let it slide slowly through your fingers so you can control the descent.
Controlling the descent is essential. If you let it just drop abruptly into the water, it could off-balance you.
Do this until you feel a change in tension, signifying that the anchor has reached the bottom. Once that has happened, attach the anchor to your cleat, anchor trolley, transport handle, etc.
How many feet of line do you need? The 7:1 rule is the golden ratio.
The rule states that for every foot of water depth, you should have seven feet of anchor line. That means that if the water is two feet deep, you should be using an anchor line that is 14 feet long.
Give the anchor some time to embed itself into the floor, if applicable, before you start fishing. This won’t be necessary when using a mushroom anchor.
What if you are in the ocean? You might consider anchoring it over a reef.
In rivers that have strong currents, you may use a drag chain or drag chute to slow down your kayak before deploying the anchor.
How to Retrieve Your Anchor?
Image Source : Shutterstock
Retrieving the anchor is generally just a reverse of deploying it. I recommend ensuring that your kayak is facing the current or wind for added stability.
Also, position your kayak directly above the anchor, if possible.
Then, start by gently pulling the anchor until you feel that it has released from where it was embedded. If it is a rocky bottom, pay extra attention to be gentle so that it doesn’t snag and get stuck, which would make it harder to retrieve.
Start pulling the line up, controlling the ascent. Once the anchor itself is near the kayak, disengage the anchor line from the anchor trolley or cleat, and then quickly load the anchor onto your kayak and start to paddle your kayak away.
Safety Tips When Anchoring Your Kayak
Before you go kayaking, always look at the weather forecast. When it is rainy and windy and the water is choppy, it will be hard to anchor your kayak.
Always wear a life vest, as required by law. If you are kayaking at night, kayak lights will help you see what you are doing when deploying and hauling in your anchor.
Try to find an appropriate spot for anchoring your kayak. Look for factors such as calm waters and an appropriate depth. Watch out for other boaters.
Most of all, keep practicing! It takes a lot of practice to get good at anchoring your kayak.
The first few times, it won’t be so easy. I recommend choosing easy spots the first few times you practice (calm waters and shallow depths).
It might take some trial and error until you learn how to smoothly deploy and haul in your anchor. Consider wearing a wetsuit or dry suit to keep yourself warm, in case you capsize.
Wrapping It Up
Having an anchor will allow you to rest while kayaking and stabilize your kayak so you can catch more fish. It’s important to choose the right anchor: one that suits your needs and is not too heavy.
Remember that practice makes perfect, so be easy on yourself the first few times.
If you have a friend who knows how to anchor the kayak, ask him to show you the ropes to minimize the learning curve.

