Whether you’re a weekend warrior or a seasoned kayaker, clever tricks can enhance your paddling experience, keep you safer on the water, and solve common kayaking problems.
This guide shares battle-tested hacks that go beyond basic tips, helping you paddle smarter, not harder.
Let’s go check out.
Also Read: Kayaking Knots Every Kayaker Should Master
Essential Kayaking Hacks Every Paddler Should Know
Keep Your Gear Dry
- DIY Dry Bag Alternative: Line a regular backpack with a heavy-duty garbage bag. Double up for extra protection. Fold the top of the garbage bag several times and secure with a rubber band before closing the backpack. This creates a waterproof barrier that’s as effective as expensive dry bags.
- Waterproof Phone Case: Place your phone in a quality zip-lock bag, squeeze out most air but leave a small bubble. This air pocket makes the case float if dropped in water. Test the seal at home first by submerging the empty bag.
- Bottle Dry Storage: Clean and dry plastic bottles thoroughly. Cut the top portion off to create a screw-top container. These make perfect waterproof storage for keys, money, or first-aid supplies. The bright colors of soda bottles make them easy to spot in your kayak.
Enhance Comfort & Performance
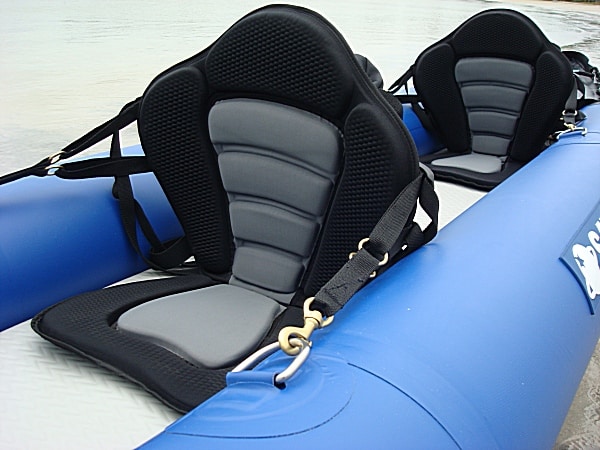
- Custom Seat Cushioning: Cut a closed-cell foam pad to match your seat shape. Create channels in the foam to prevent water pooling. This not only improves comfort but also provides additional insulation on cold days. Secure with velcro strips for easy removal.
- Hull Speed Boost: Rub candle wax on the hull’s underside, focusing on the areas that contact water. This reduces surface tension and friction, potentially increasing your speed by 1-2%. Choose unscented, plain paraffin wax for best results.
- DIY Outriggers: Secure pool noodles parallel to your kayak using adjustable straps. Place them about 2 feet out from each side. These temporary outriggers provide extra stability for activities like photography or fishing. They’re easily removable when not needed.
Explore: Kayaking Strokes To Improve Your Kayaking
Smart Storage Solutions
- Camera Mount Conversion: Remove the cup portion of a fishing rod holder, leaving the base. Attach a standard camera mount thread to create a stable platform for your GoPro or camera. This provides better angles than chest or head mounts.
- Internal Organization: Apply 3M Command hooks or similar adhesive hooks strategically inside your hull. Create a system where frequently used items are easily accessible. Use different colored hooks for different gear categories.
- Quick-Release System: Install small eye bolts at key points around your cockpit. Attach carabiners to your gear. This creates a modular system where you can quickly attach or detach items like water bottles, dry bags, or safety equipment.
Maintenance & Repairs
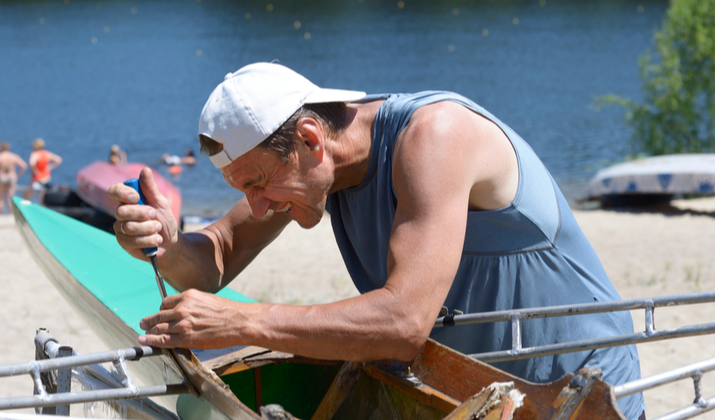
- Emergency Crack Repair: For polyethylene kayaks, use a standard butter knife heated over a flame. Press HDPE plastic strips (cut from an old laundry detergent bottle) into the crack, using the hot knife to meld the plastic. Sand smooth when cool.
- Natural Algae Removal: Mix equal parts water and white vinegar in a spray bottle. Apply to algae-covered areas, let sit for 15 minutes, then scrub with a soft brush. The acidity breaks down algae without damaging your kayak’s finish.
- Transport Protection: Cut tennis balls in half and attach them to your kayak’s potential contact points during transport. They act as bumpers, preventing scratches and dents. Secure them with bungee cords or strong adhesive.
Also Read: Kayaking Mistakes To Avoid
Safety Upgrades
- Enhanced Visibility: Apply marine-grade reflective tape in a pattern on your paddle blades. This creates a striking visual effect when paddling at dawn, dusk, or in low light conditions. Choose silver or bright colors for maximum visibility.
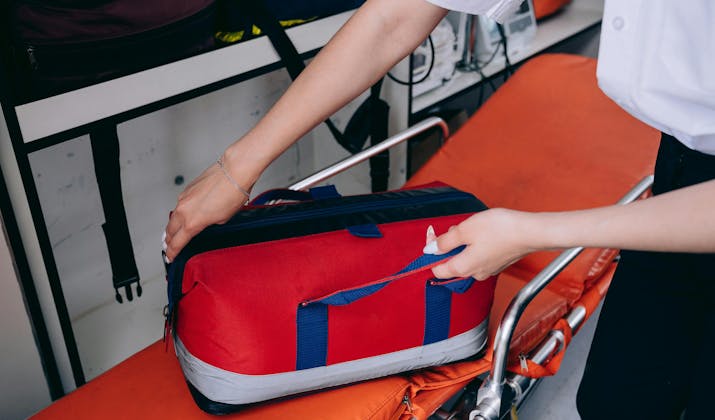
- Compact Emergency Kit: Repurpose a large, waterproof prescription bottle. Include: emergency whistle, waterproof matches, small first-aid supplies, energy bar, and a mini flashlight. Attach it securely inside your kayak where it’s easily accessible.
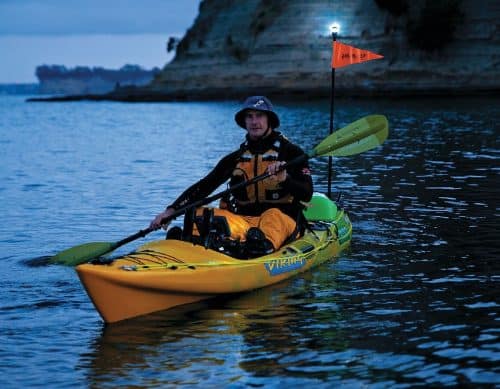
- Night Paddling Lights: Insert activated glow sticks into clear water bottles. Secure these to your bow and stern. They provide 360-degree visibility required by Coast Guard regulations for night paddling. The water bottles amplify and protect the glow sticks.
Transportation Tricks
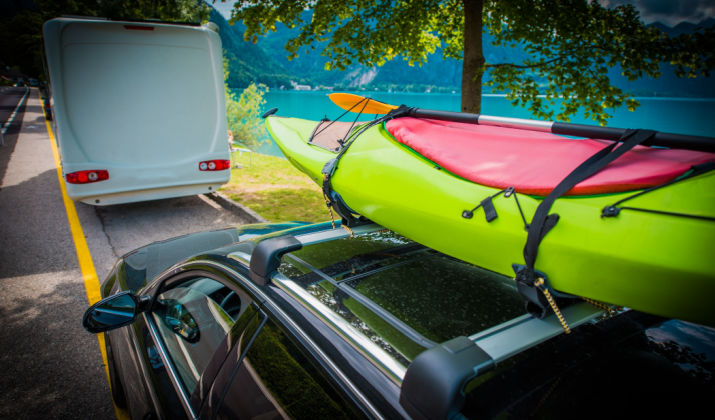
- Budget Roof Rack: Create J-cradles using pool noodles and ratchet straps. Cut the pool noodles to match your crossbar width. Slice lengthwise to fit over the bars. Secure your kayak with the ratchet straps, using the noodles as cushioning and support.
- Multi-Kayak Protection: Cut yoga mats into strips. Place these between kayaks when transporting multiple boats. The dense foam prevents scratches and reduces movement during transport. Secure each layer with separate straps.
- Garage Pulley System: Install a 4:1 pulley system in your garage ceiling. Attach padded hooks to the lowest pulley. This allows you to easily lift and store your kayak overhead, or lower it onto your vehicle, without assistance.
Explore: Choosing The Right Kayaking Paddle
- DIY Paddle Leash: Create an adjustable paddle leash using a retractable dog leash. Remove the bulky handle, replace it with a carabiner, and attach it to your kayak. The retraction mechanism keeps the leash tangle-free while allowing full range of motion for paddling. Adjust the spring tension if needed for smoother operation.
- Hands-Free Map Viewer: Construct a waterproof map display using two clear clipboard sheets and silicone sealant. Seal three sides, creating a dry pocket for maps or a GPS device. Mount it to your deck with suction cups or velcro. This keeps navigation tools visible and protected while allowing for quick reference during your journey.
- Portable Weather Station: Convert an empty Gatorade bottle into a wind direction indicator. Cut thin strips halfway up the bottle, attach lightweight ribbons to the strips, and mount it on your stern. The ribbons will indicate wind direction and strength, helping you anticipate weather changes and plan your route accordingly. Add reflective tape to the ribbons for nighttime visibility.
- Natural Pathway Finder: Use biodegradable trail marking tape to create temporary waypoints in areas with confusing waterways or during multi-day trips. Tie small pieces to branches or rocks at decision points, noting the time and direction on the tape with a waterproof marker. This creates a breadcrumb trail that naturally disappears over time, leaving no permanent trace.
Explore: All Season Kayaking Outfits
Additional Tips for Each New Hack
- For the paddle leash, test different retraction strengths before committing to a design. Too strong can affect your stroke, too weak won’t adequately secure your paddle.
- When creating the map viewer, include a small packet of silica gel to prevent fogging between the sheets. Replace the gel regularly to maintain clarity.
- The wind indicator bottle should be lightweight enough to move freely but sturdy enough to withstand exposure. Consider using UV-resistant paint to extend its lifespan.
- With trail marking, establish a consistent system: perhaps one knot for the outbound journey, two for the return. This prevents confusion when retracing your path.
Also Read: Printable Kayaking Checklist
Best Practices for Implementation
- Always test new hacks in controlled conditions before relying on them in real scenarios
- Consider the environmental impact of any modifications or markers you leave behind
- Document successful hacks and share them with the kayaking community
- Be prepared with traditional methods as backups for any technical solutions
Conclusion
The art of kayaking extends far beyond paddling techniques.
These hacks represent years of collective paddler wisdom, transforming common frustrations into elegant solutions.
By implementing even a few of these tricks, you’ll enhance your time on the water, whether you’re fishing, touring, or just enjoying a peaceful paddle.
Remember, the best hack is the one that solves your specific challenges – don’t be afraid to experiment and develop your own innovative solutions for the unique demands of your paddling adventures.
Stay safe, paddle smart, and enjoy the journey of becoming a more resourceful kayaker.

