Stability is one thing that many new kayakers struggle with. Whether you are just getting used to the feel of sitting in a kayak or you frequently paddle in rough conditions that make it difficult to keep your balance, you might be interested in DIY kayak stabilizers you can build at home.
The warmer months of the year are hands-down the best time to enjoy a kayaking adventure. They can also be a great period to challenge yourself (and your family) with a do-it-yourself home improvement or, in this case, kayak improvement project.
If you want to make your kayak more stable for any reason, adding outriggers (a synonym for stabilizers) is the right call. For those of you with custom kayaks or rarer kayak models, it might be difficult to find manufactured stabilizers that will be compatible with your boat.
In that case, you will need to explore a DIY solution to your kayak stability problem. Fortunately for you, we are going to highlight several DIY kayak stabilizer plans and designs in this guide today.
We will also discuss the types of paddlers that might need stabilizers the most and why you might want to build your own versus buying a manufactured model.
Photo by Ethan Daniels via Shutterstock
What Are Kayak Stabilizers?
Photo by Valdemir Braga via Shutterstock
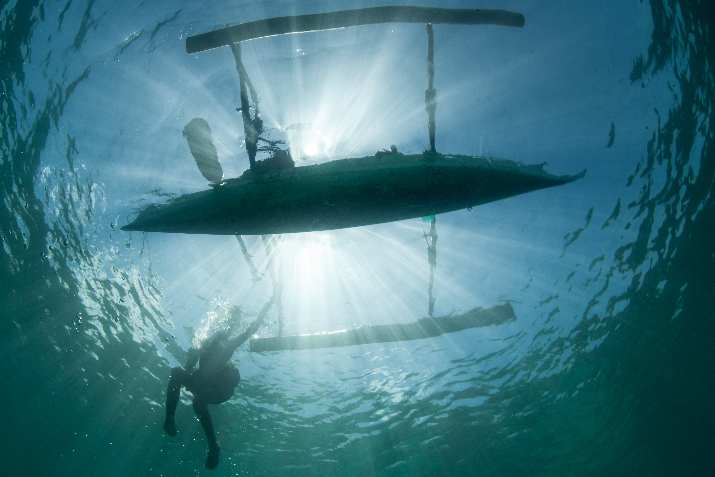
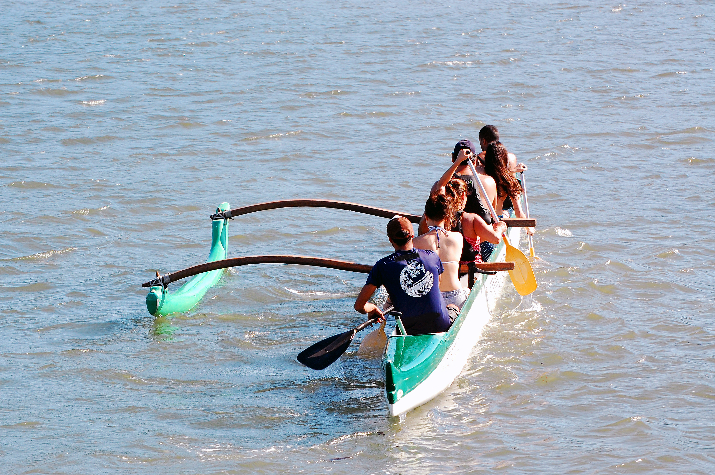
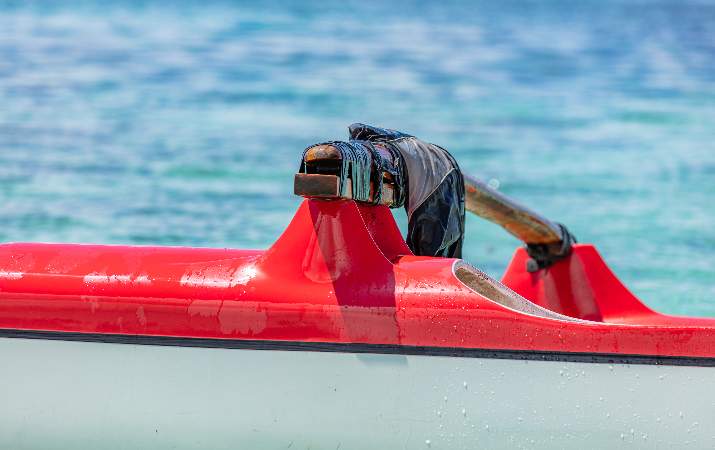
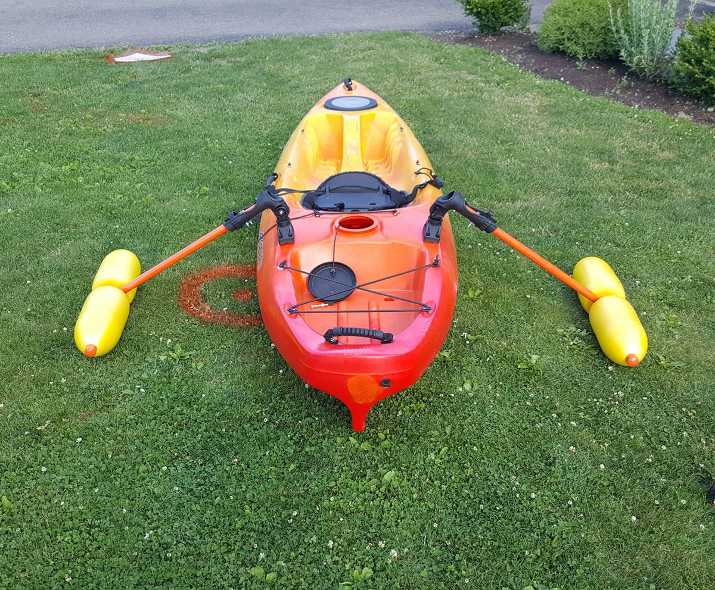
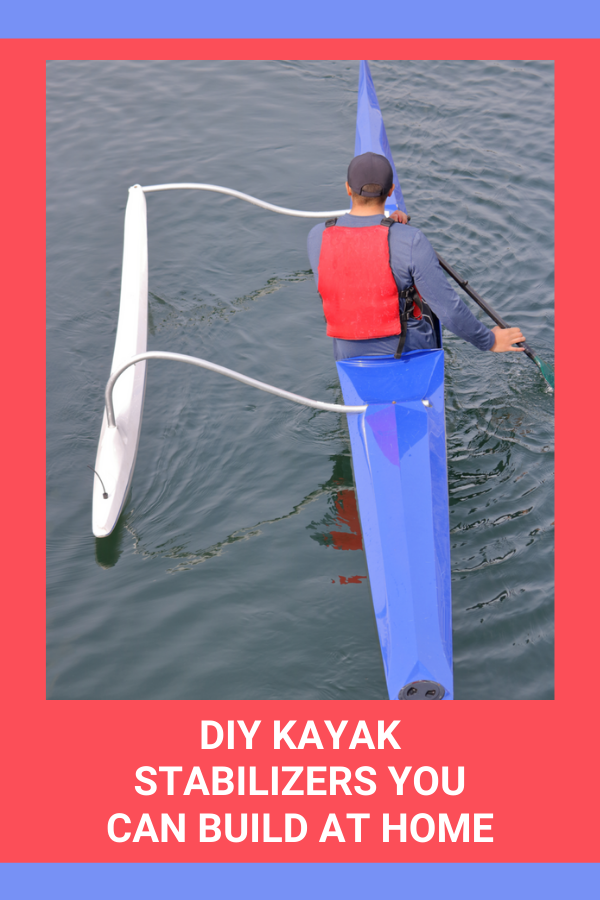
Kayak stabilizers (also sometimes known as outriggers) hook to the gunwales (sides) of your kayak and extend out and away. At the ends, they usually include some type of float or buoy that adds stability to your kayak.
Having extra buoyancy located at a point a few feet away from the actual side of your kayak significantly reduces your likelihood of capsizing. If you lean too far to one side or the other, the stabilizer will help you correct your balance before it is too late.
Who Needs Kayak Stabilizers?
Photo by Elena Berd via Shutterstock
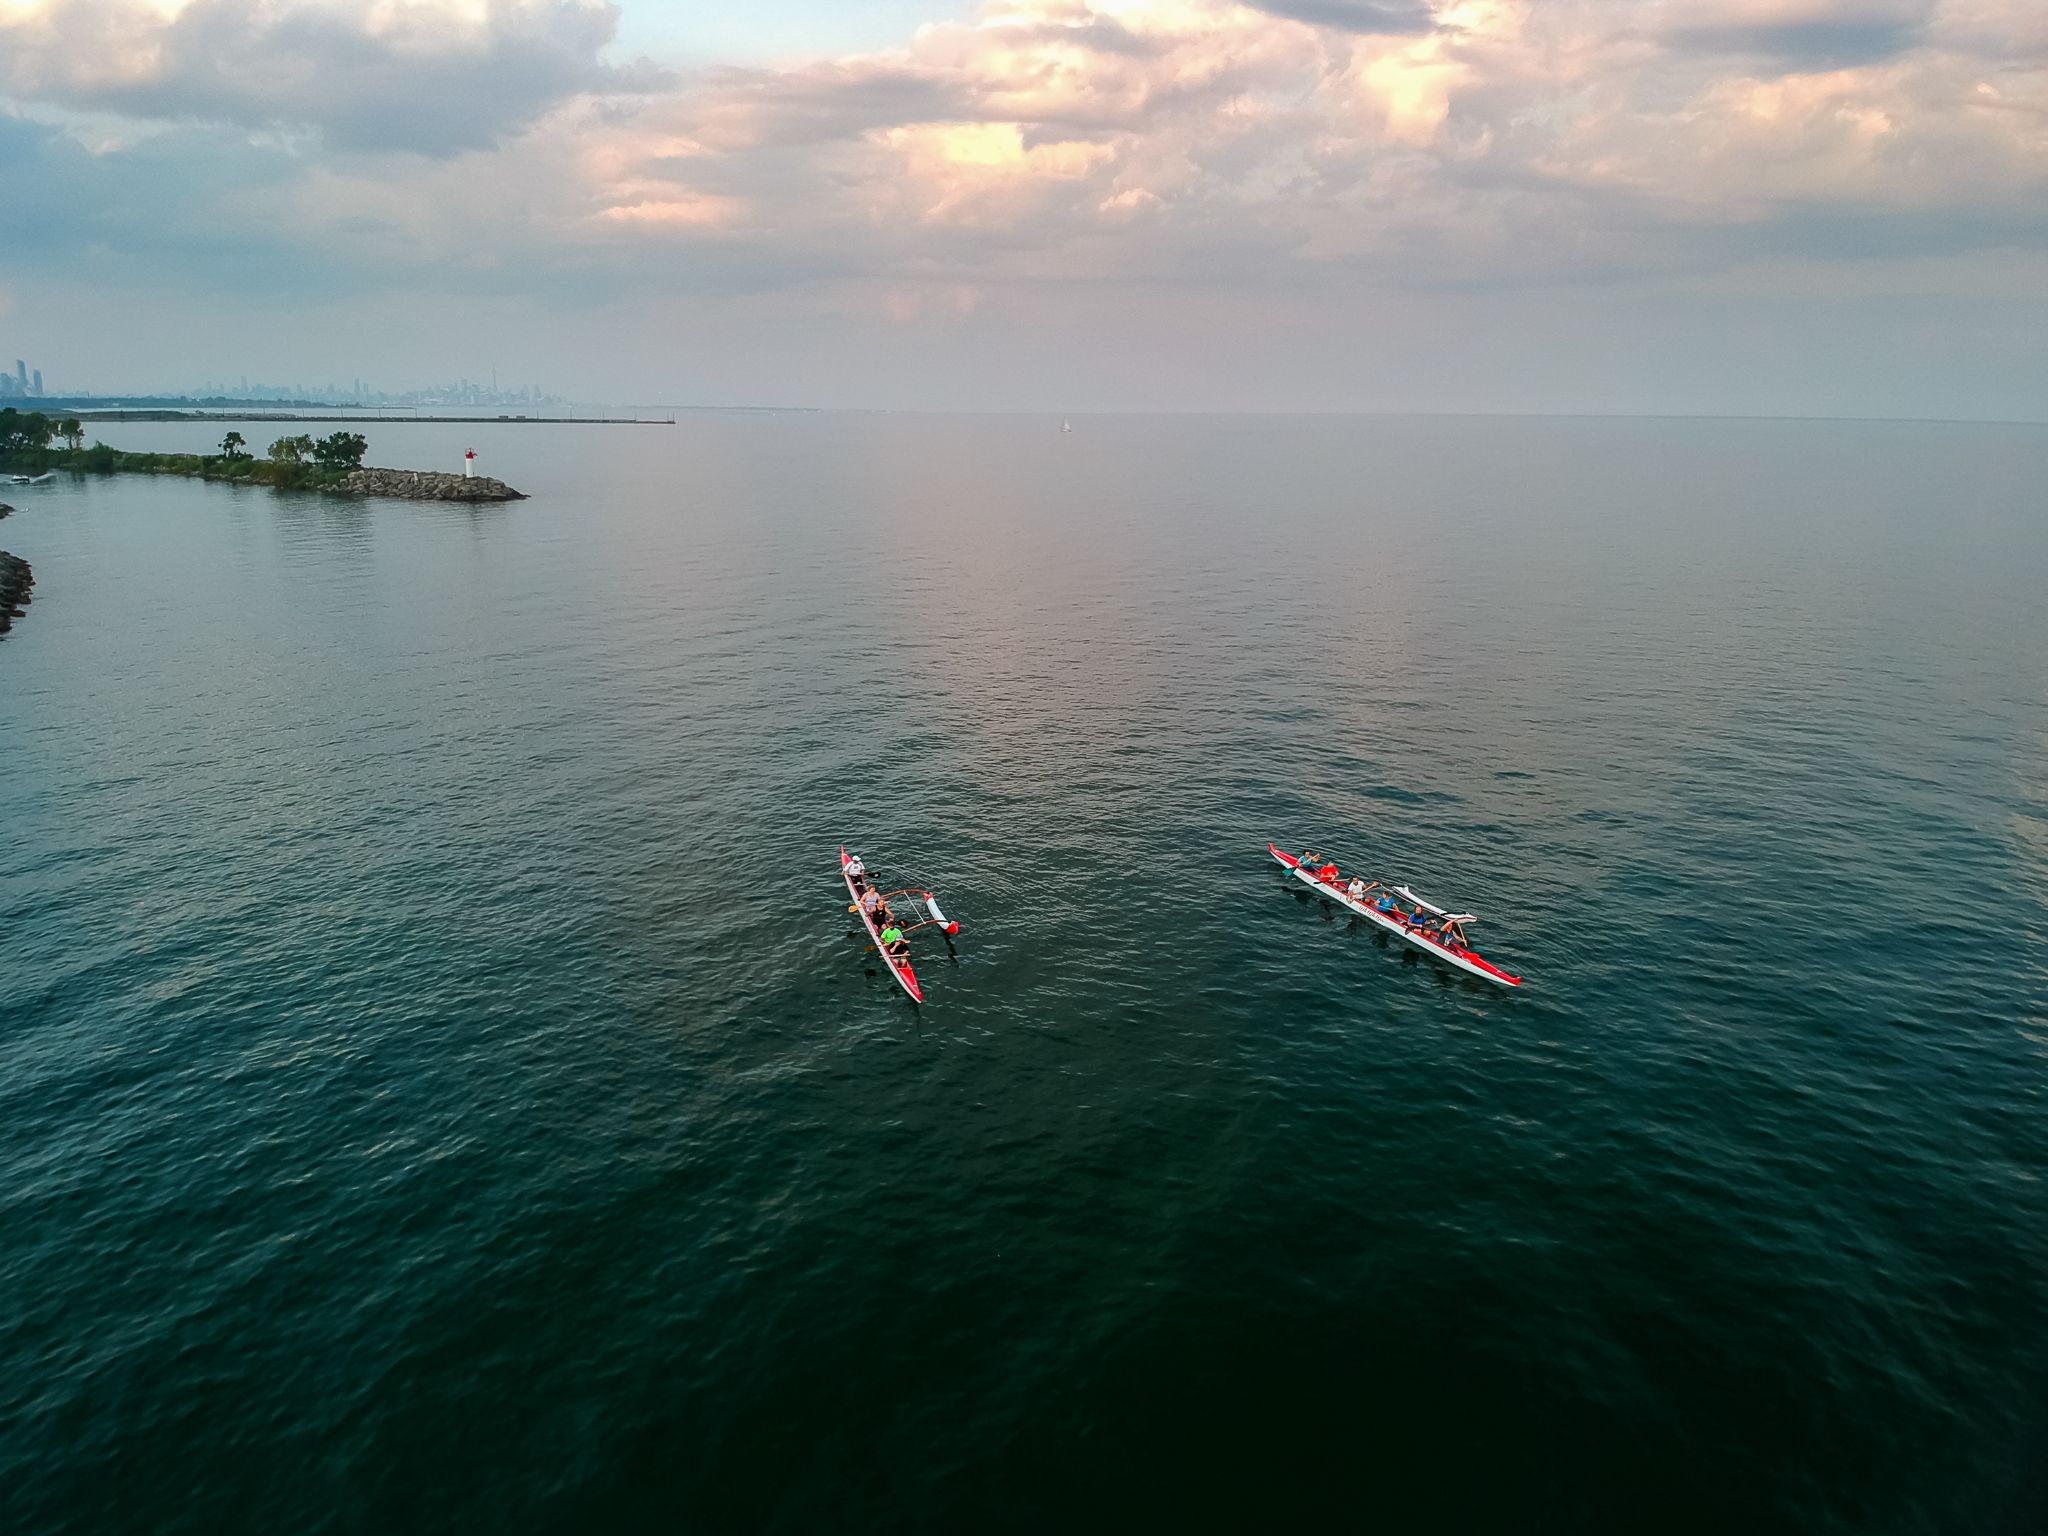
Kayak stabilizers are used by all sorts of kayakers. You will often see them on slimmer racing kayaks that are designed for speed because their thinner design makes them less stable.
You will also find them on some ocean fishing kayaks in an effort to add stability for anglers in search of larger ocean species. The extra stability that a kayak outrigger supplies will also be good for heavier paddlers and taller individuals with a higher center of gravity.
Folks that like to paddle out in the ocean and then go diving, snorkeling, or spearfishing also like to use kayak stabilizers. They help to keep your rig more stable while you are putting on and taking off gear, rigging up buoys, and performing other tasks that require a little more balance.
Finally, many folks that love to kayak with their dogs will equip their kayak with stabilizers on one or both sides. This allows you to build a platform between the gunwales of your kayak and the parallel stabilizer float so that your dog has a more comfortable place to sit or lie down while you paddle.
Why Build Your Own DIY Kayak Stabilizers?
Photo by Elena Berd via Shutterstock
While there are certainly “universal” kayak outriggers out there, finding a model that fits perfectly with your specific kayak can sometimes be difficult. That is the primary reason why experienced kayakers seek DIY solutions to add stability to their kayaks.
In addition to that, however, building DIY kayak stabilizers can be a fun project if you are practicing your craftsmanship. It can also give you and your partner or children something to work on together in your summer downtime.
Lastly, a DIY solution will also be the only option for some kayakers on this front. This is especially the case for people that make their own wooden kayaks because it will be more difficult to find manufactured outriggers to fit a custom-made kayak.
DIY Kayak Stabilizers You Can Build At Home
1. The Wood + Water Bottle Design
Photo Pedal to the Stock by via Shutterstock
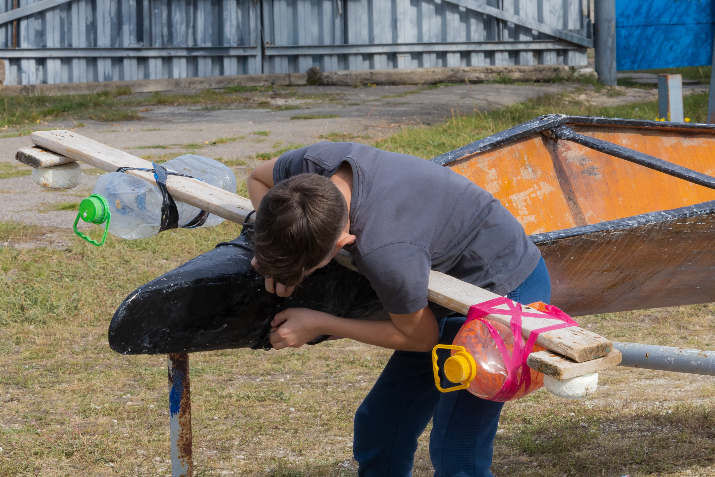
This is one of the simplest designs you will find for DIY kayak stabilizers. You will need 1-2 two-by-fours, 2-4 one-gallon water jugs, and two small foam rounds to make it happen.
The length of your two-by-fours will depend on the width of your kayak. Generally, your outriggers should extend anywhere from 18 to 36 inches past the gunwales of your kayak on either side.
Start by cutting two four-inch sections off of your two-by-fours and then fastening them under the ends of the two-by-fours in a perpendicular fashion. Then, attach the foam rounds underneath that perpendicular section.
For the water bottles, place them roughly 6-12 inches from the ends of your two-by-fours and attach them using rope and Gorilla tape. The benefit of this design is that you will be able to empty or fill the water bottles each time you go out, which will allow you to customize the amount of buoyancy you want depending on conditions or how much weight you are carrying in your kayak.
If you put all of this together before you attach the long length of two-by-four to your kayak, it will be easier to load and unload your vessel on a trailer or roof rack. If your kayak is permanently stored right near the water, however, you may be able to attach your stabilizers more permanently.
To attach the two-by-four toward the stern of your kayak, simply use a sufficient length of rope wrap it in an X-shape until the stabilizer won’t move and you can knot the rope to secure it.
You should easily be able to repeat this process if you want to attach a second stabilizer towards the bow of your kayak as well.
The major downside of this method is the lack of waterproofing. Rope and tape are likely to stretch or disintegrate when exposed to water for prolonged periods (especially salt water).
Plus, you will need to coat your two-by-fours in some sort of marine-grade paint or stain if you don’t want them to get soaked and begin to rot rather quickly. So this is really only best as a temporary solution for relatively dry, freshwater climates.
2. Install Them On Swivel-Mounted Fishing Rod Holders
PC Hiking.Earth
The next design we have chosen will only work for those of you with a fishing kayak. It requires that you have two swivel-mounted fishing rod holders located behind your kayak seat, but you can also install your own if your kayak doesn’t currently have them.
If you do, you will also need four small buoys (the kind often used for crab or lobster pots are perfect!), 10 feet of ¾-inch PVC pipe, four ¾-inch PVC caps, two ¾-inch PVC T-shaped joints, eight 5/16-inch washers, four 3-inch 5/16 hex bolts, four 5/16-inch lock nuts, PVC glue, and a can of spray paint (optional) to complete this design.
If you do choose to grab spray paint to coat everything with your preferred color, we recommend doing that first before you begin putting everything together. Then allow your pieces enough time to dry before you start the assembly.
After you’ve painted (or if you’ve decided to skip that step), your next step will be to cut your PVC pipe into two 24-inch lengths for the main shafts and four lengths that measure approximately 12.25 inches long for the buoys.
The length that you need for the buoys may differ depending on the exact buoys you purchase. You should cut your short PVC lengths so that you have roughly half-an-inch extending out either end of your buoys.
Now you can insert your shorter lengths through your buoys and glue the caps onto the ends using your PVC glue. You may need to use a rubber mallet to get the PVC sections through your buoys, depending on how tight the fit is.
From here, apply glue to the inside of the three holes of your T-joints and assemble the rest of your outriggers. You will create a T-shaped stabilizer with your buoys at the far end.
Now you can allow those T-shaped stabilizers to dry while you prepare for the next step. If you already have the rod holders installed on your kayak, you will be able to skip right to attaching the stabilizers to them.
If not, you will need to install your rod holders while your stabilizers are drying. This will require two level spots behind your kayak seat with enough space for you to attach your rod holders parallel to one another.
Measure twice and then mark the holes where you will install bolts for your rod holders. Measuring is critical because it is pretty difficult to un-drill holes once you have drilled them.
Once you are confident in your marks, however, you can drill four holes and then install your rod holders using the included hardware. If you have access to the inside of your kayak using a bulkhead, this will make things much easier.
From there, it is time to attach your outriggers to your rod holders. Begin by clamping the PVC sections to the rod holders and make sure they are secure so that you can drill through them.
Now, you will want to drill two 5/16-inch holes through both the PVC and the rod holders. Then you can thread hex bolts through them and use locking nuts to tighten them down.
If you purchase slightly more expensive rod holders that naturally clamp down to fishing rods of many diameters, you may be able to avoid this step. In doing so, your outriggers may be more easily installed and removed as needed.
3. Utilize Your Flush-Mounted Rod Holders
PC TexasPrepper2 via YouTube
If you want to avoid drilling into the deck of your kayak and already have a kayak with flush-mounted rod holders behind your seat, you can do a similar variation of the design we just outlined above.
Instead of having to install swivel rod holders, you can skip that step and build stabilizers that insert right into your flush-mounted rod holder locations.
For this method, you will need four floats or buoys, roughly 12 feet of ¾-inch PVC pipe, two 90-degree PVC connectors, two 45-degree PVC connectors, two PVC T-joints, four PVC caps, and PVC glue.
Just like the last method, you can also paint your PVC pipe, connectors, and buoys if you want them to match the color scheme of your kayak. Do this first and allow everything to dry before assembling your stabilizers.
To build this design, you will need to begin by cutting two 12-inch lengths off of your PVC pipe. These will become the vertical supports that sit down into your rod holders, so you can go ahead and add a 90-degree connector to each length using PVC glue.
Then, cut four more lengths at approximately 12.25 inches each. Again, the exact measurement for this should be about a full inch longer than the buoys or floats you have purchased for this design.
If our calculations are correct, you should now have roughly six feet of PVC remaining. Cut the remaining piece into four even sections (roughly 18 inches each). These will be horizontal and then angled arms of your stabilizers.
Now you are ready to assemble everything. Install one of the 18-inch sections into the other end of the 90-degree connector you already glued to your vertical upright (using glue) and then add a 45-degree connector to the other end (more glue!).
Then you can add the other 18-inch section into the opposite end of that 45-degree connector and glue the T-joint onto the other end. From there, glue the 12.25-inch sections into the open ends of the T-joint and then slide your buoys onto those pieces of PVC.
The last thing you will need to do is cap the ends of the sections on the outer edges of the buoys to prevent your pipes from filling with water. Allow everything to dry for several hours before you take your kayak (with its new DIY stabilizers) out for a spin.
The great part about this design is that it is super easy to remove and install as needed. Plus, it is super lightweight so it won’t be a nuisance if you decide to remove them and stash them somewhere on your kayak while you’re paddling.
4. The Heavy Duty PVC Design
PC Rickie Carette via YouTube
One problem with the single-arm stabilizers that we have outlined so far is that they can move independently or even as a whole unit (for the first design). A little bit of movement might be fine for recreational paddlers, but serious anglers still want to be efficient as they move through the water.
That’s why we were pumped when we stumbled upon this gentleman’s design. As you can see, he has used thicker PVC pipe than many of the other designs, which will give his stabilizers far less flex.
In addition, he has mounted two sets of arms that extend from just in front of and behind the rear tankwell in his ocean fishing kayak. The stabilizers themselves are even larger sections of PVC pipe (instead of buoys) and he even had the nose cone specially made to give them that torpedo-like finish.
The section of PVC that runs just behind the kayak seat is actually bent according to the natural curve of the kayak. That allowed him to retain the use of the fishing rod holders back there instead of having to cover them up.
He also designed this so that it can come apart at joints that are mounted above the deck of the kayak. So he has retained the flexibility to paddle with or without these DIY stabilizers.
The hardware that he used to mount the smaller sections of PVC that run over the deck remains permanently in place so that installing the outrigger arms is simple and quick.
Plus, he went even further to adapt his design to the contour of his kayak instead of going with a simple square shape, which will further reduce the amount of flex in his outrigger arms and make his kayak more efficient.
If you want a little more info on how he crafted these DIY kayak stabilizers (including an awesome tip on how to heat and bend PVC pipe without it crimping), check out his full video on YouTube!
5. The Simple Square
PC AC Outdoors via YouTube
If you like the idea of having two arms to keep your stabilizers from flexing or moving independently, you can also design a simple square if you don’t want to get quite as technical as the last design.
This particular gentleman used angle-iron, rebar, and foam rollers from Gold’s Gym to create his design. Check out the full video of his creation below!
Our main concern with this method is that it will add a lot of extra weight to your kayak. So we would recommend utilizing PVC instead of these heavier materials.
You could, however, attempt a hybrid design by using PVC pipe with rebar threaded inside of it to reduce the degree to which the PVC flexes. This will obviously weigh you down a bit more but will do so less than using angle iron for the perpendicular sections.
The principles of how to secure the square shape across the rear tankwell of your kayak, however, will be the same. You will just need to use similar C-shaped clamps as the gentleman in the previous video.
Also, just keep in mind that this design (while it will be more stable and provide less flex than single-arm designs) will slightly compromise your storage space in the rear tankwell, which could be a problem if you have a cooler or tackle box back there usually.
P.S.: You could also just build your own DIY kayak cooler while you are at it to make sure everything fits according to your preference!
Final Thoughts
PC AC Outdoors via YouTube
When all is said and done, you should be able to manufacture your own DIY kayak stabilizers for less than $100. They certainly aren’t an overly complicated kayaking accessory, so beware of any plan or design that winds up being too expensive.
After all, one of the best reasons to build your own kayak outriggers is to avoid paying the higher cost associated with many manufactured models. So make sure you plan your DIY design to make sure you aren’t spending more than it would cost to just buy a set of outriggers (because that wouldn’t make much sense!).
We hope that you have gotten some inspiration from this guide and we would encourage you to save the plans for any of the stabilizers that you build yourself. Once you’re done with your DIY project, we also wish you the best and healthiest of paddle adventures during the coming season!


