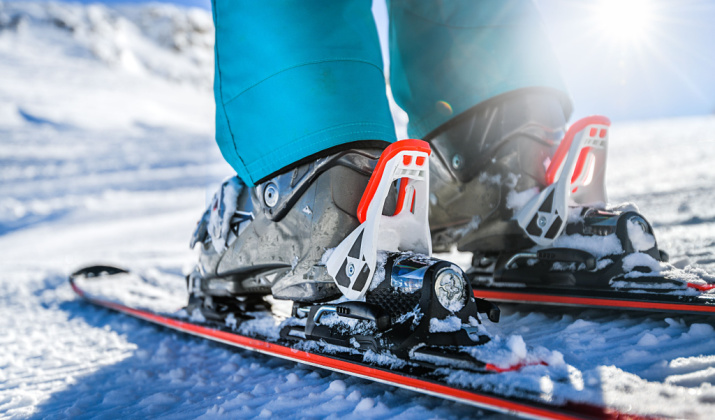
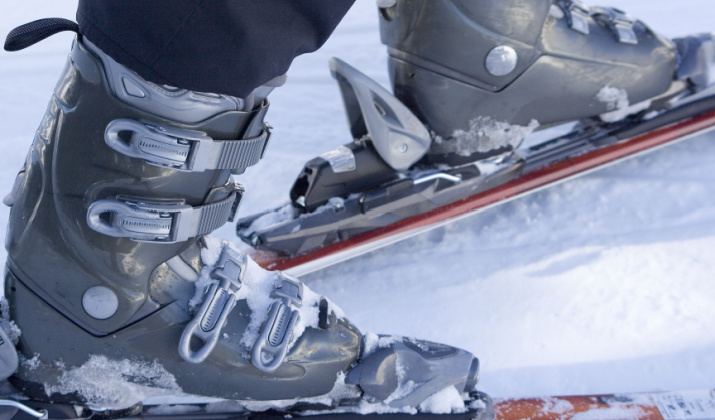
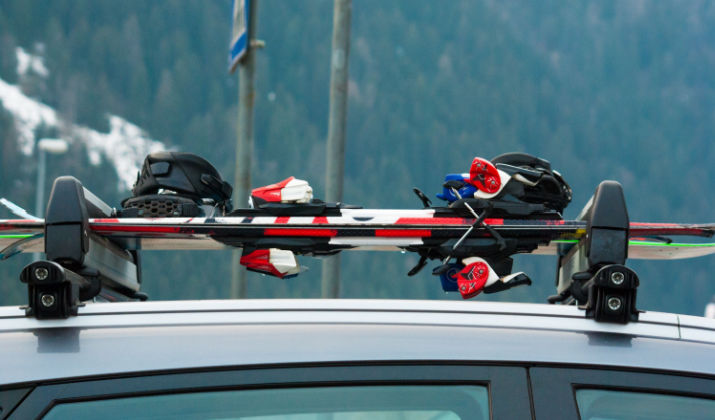
Ski bindings are the essential devices that attach your ski boot to your skis. Their design allows your ski to ping off your boot if you get into a crash to reduce the likelihood of injury.
They are also designed so you can transfer all your inputs into the skis effectively while receiving valuable feedback so you can stay in control.
In this article, we’ll go through the six different types of ski bindings and go into them in detail.
Image Source: Shutterstock
The Anatomy Of A Ski Binding
Image Source: Shutterstock
Before we go into the different types of ski bindings, let’s look at their various parts.
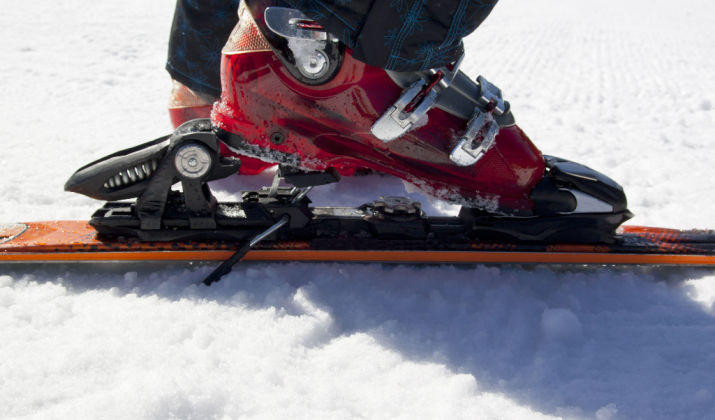
Ski Brakes
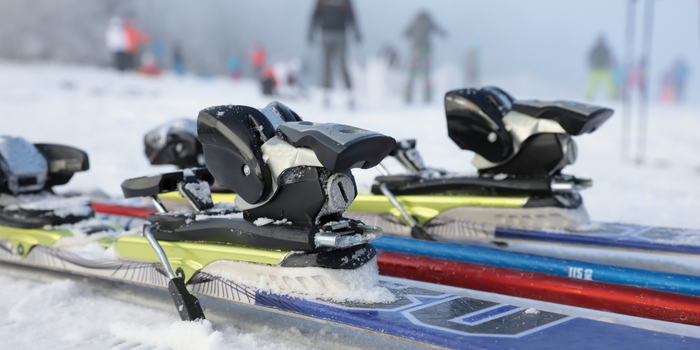
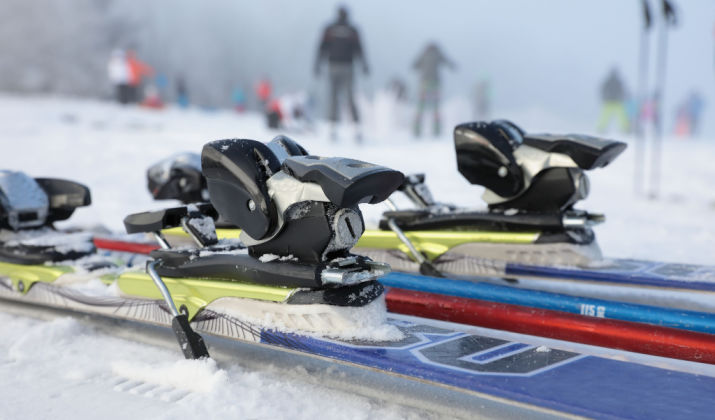
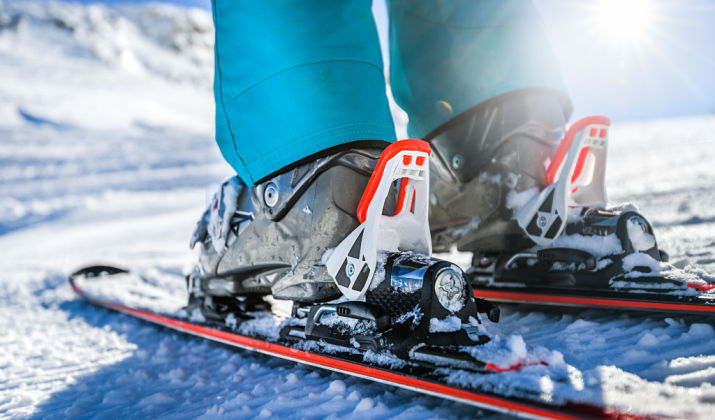
The brake on a ski is a metal piece located on the back of the binding where your heel rests. Two prongs protrude on either side of the ski and dig into the snow to stop your ski from sliding away when it pops off your boot or when you are clipping in on a slope.
The brake on your ski binding must be wide enough to stick out on either side of your ski. So before you buy a pair of ski bindings, you need to know the width of your skis, so you can ensure the brake will fit.
However, you don’t want your ski brakes to be too wide, as they will catch the snow, causing a horrific accident.
Generally, your ski brakes should be no more than 10mm wider than the part of your ski under your boot.
Anti-friction devices (AFDs)
Most modern ski bindings now come with anti-friction devices. These are pads made from Teflon or metal that are mounted to the ski under your boot.
The idea behind these pads is to allow you to slide your ski boot out of the binding more easily when your toe is free from the binding.
Lifters (Or Riser Plates)
The lifter is a piece of material that fits under the binding. Its job is to improve the ski’s edge hold.
Lifters are mainly used in ski races allowing the skier to get the skis on to sharper angles before the boot touches the snow.
Elastic Movement
Ski bindings allow a small amount of elastic movement to reduce the chance of it releasing the boot inadvertently.
The elastic movement is vertical and lateral and also offers quite a lot of shock absorption when you land jumps or hit lots of bumps. You’ll find that some ski bindings offer more elastic movement than others.
What Is The DIN Setting?
Image Source: Shuterstock
DIN stands for Deutsches Institut für Normung, which is the German Institute for Standardization. The DIN setting of a set of ski bindings numerically indicates how easily the ski releases from the binding.
Some ski boot manufacturers use the ASTM (American Society for Testing and Standards).
DIN settings range from 0.75-18, and the number refers to the force the binding puts on the boot before it releases your ski. The higher the number, the more force the binding will take before it pops off.
There are a few things that determine how high your DIN settings should be. A ski tech will ask you your weight and how old you are. They will also ask you what your ability level and your skiing style are. Your ski boot length also makes a difference to your DIN settings.
Different ski bindings can accommodate different DIN setting ranges. Therefore, you need to ensure that your new ski bindings will be suitable for you. Most skiers use bindings with a maximum DIN setting of 11 or 13.
It’s best to get a ski tech to fit your new bindings to your skis. When they do this, they will adjust them to the perfect DIN settings based on your information. If you adjust your DIN settings yourself, check out this DIN setting calculator.
The 6 Different Types Of Ski Bindings
Image Source: Shutterstock
Now you know about some of the basics associated with ski bindings, let’s go into the six different types so you know what to look for.
1. Alpine
Image Source: Shutterstock
Alpine ski bindings are the most common type. These are only used for downhill skiing and are designed to be exclusively combined with alpine ski boots.
They are made up of two pieces, one for the toe and one for the heel. The brakes are attached to the heel piece to stop your skis from sliding away. The DIN setting is adjusted using the toe piece and is indicated through a small window.
Each piece is fixed onto the ski via holes drilled by a ski tech. This means that they are custom fitted for you and your boots.
The disadvantage of these ski bindings is that it can be tricky to sell your skis, as they need to be compatible with their new owner’s boots.
2. Integrated
You may come across a pair of skis with integrated bindings. These ski bindings are built into the skis’ top sheets using a specific system to the type of skis.
Integrated ski bindings make changing and adjusting them easy. You can even swap them for other bindings.
3. Frame Bindings
Image Source: Shutterstock
Frame bindings share some similarities with alpine bindings. They come in two pieces, one for the heel and one for the toe.
The main differences are that these bindings feature a frame that connects the two pieces, and you can release the heel, allowing you to stride forwards. Your toe hinges so your heel can rise so you can stride forwards.
You clip into frame bindings in the same way as alpine bindings. But, the idea behind these bindings is to make hiking into the backcountry much easier.
Once you are at the top of the slope you want to descend, you fasten the heel back down so they perform like alpine bindings.
You can use frame bindings with alpine touring ski boots. But they are also compatible with some regular alpine ski boots.
4. Tech Bindings
Image Source: Shutterstock
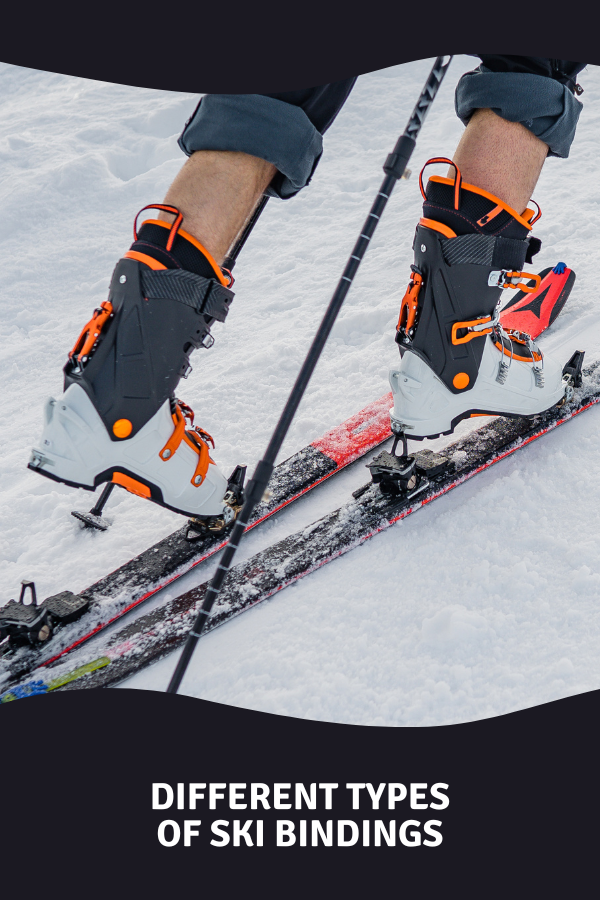
Tech bindings are very different from alpine bindings. They need specific ski boots to use due to their design. However, they are used in a similar way to frame bindings to access the backcountry.
These ski bindings are also known as pin bindings, as they use pins that hold the toe of your ski boot in place.
The toe sections have two pins on the end of spring-loaded arms. But the heel sections have metal rods pointing at the heels of your ski boots.
Like frame bindings, you can release your heel to hike uphill and clip them back down for the descent. Many people like tech bindings for their light weight, making the climb more manageable.
5. Telemark
Image Source: Shutterstock
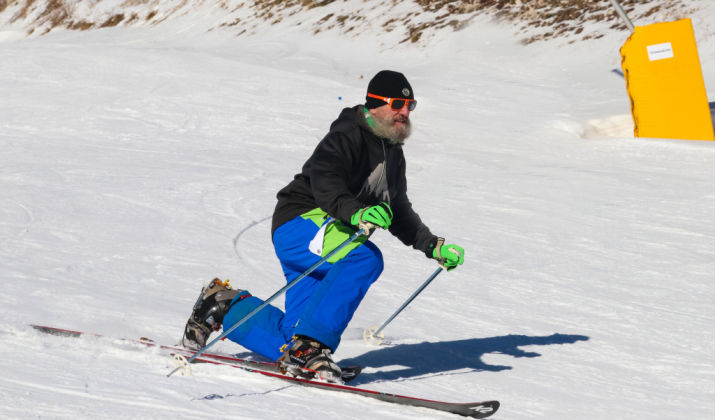
Telemark skiing is a different discipline from alpine and backcountry skiing. The technique requires the telemark skier to lunge as they turn. Therefore, it requires its own type of binding that allows the heel to rise.
There are two kinds of telemark bindings – NTN and 75mm.
The original type of telemark ski bindings is 75mm, but it was previously referred to as Nordic. The term 75mm indicates the width of the boot’s sole and the wedge-shaped toe section of the binding that the boot fits into.
You’ll notice that the boot has a “duck bill” shaped toe section. This gives you the advantage of a smoothly flexing boot which allows you to put weight on your rear foot when performing a telemark turn.
The disadvantage of the 75mm telemark ski bindings is that your boots can move laterally. This movement is only slight, but it can compromise your edge hold, especially when it’s icy.
These bindings still allow you to hold an edge, but you have to put more effort into the turns and perfect the technique to ski effectively.
You can buy 75mm telemark bindings that release like alpine bindings, but they are few and far between. Another advantage of these ski bindings is that they are relatively inexpensive, so they are great for beginner telmarkers.
NTN stands for New Telemark Norm. This system was designed so telemark skiers didn’t have to put up with the limitations of 75mm bindings.
The main advantage NTN bindings give you is that they are easier to step into and release. They also provide more control and edge hold in icy conditions.
NTN is a significant leap forward in telemark binding technology. They offer much better performance both uphill and downhill.
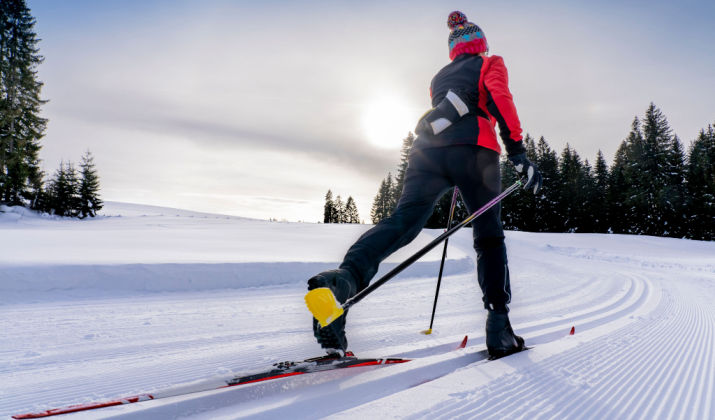
6. Cross-Country
Image Source: Shutterstock
If you are thinking about starting cross-country skiing, you may have noticed that there are a few different types of binding and boot interfaces.
Each of these systems has advantages and disadvantages. Their designs also suit different needs, so which one is best for you?
You’ll come across terms such as Three Pin, SNS, and NNN. The most common types are NNN and SNS, but we will go into all of them shortly.
75mm Three Pin Cross Country Ski Binding
Like telemark, you can get 75mm cross-country ski bindings, but they use a three-pin system. This type of cross-country ski binding works very well with stiff ski boots used in the backcountry.
These cross-country ski bindings have become pretty popular, so they have evolved with the sport. In the old days, these bindings used to accumulate snow behind the heel, making them difficult to get into and out of.
This snow build-up is less of a problem these days, as their design has improved over the years. One of the main advantages of three-pin cross-country ski bindings is that the boots and skis are less expensive to buy. The reason for this is that they are older and available at most shops that stock cross-country ski equipment.
Three-pin cross-country ski boots are pretty stiff. This helps with power transfer, but they can make controlling your skis tricky on flat terrain.
NNN (New Nordic Norm) Cross-Country Ski Bindings
If you have NNN cross-country ski boots, you need NNN bindings, as they won’t work with any other type of binding.
NNN cross-country bindings feature a metal rod at the toe, which clips into the binding. They also have a rubber section at the front that helps you lift your foot, so you can put lots of power into your gliding.
You may also see NIS (Nordic Integrated System) cross-country ski bindings. These use a different system to attach to the skis.
There are a few benefits of NIS versions of NNN bindings. The first advantage is that they use a plate to attach to the ski, so you don’t need to drill into the ski. You can also adjust the bindings with little effort when you are out on the trail.
NNN BC (New Nordic Norm Backcountry)
If you have wider cross-country skis for exploring the backcountry, you may benefit from NNN BC. This stands for New Nordic Norm Backcountry, and this standard is wider and provides more support than the standard NNN bindings.
The good thing about NNN BC is that you can sometimes use NNN boots with them. So if you have different cross-country skis for different terrain, you only need one pair of boots.
SNS (Salomon Nordic System)
The Salomon Nordic System uses clips at the toe and a single ridge, but the interface between the binding and boot is similar to the NNN system.
The difference is that the SNS uses a single ridge, and the NNN a double. This means that the boots are not compatible with the two binding systems.
Tips For Buying Alpine Ski Bindings
Image Source: Shutterstock
As alpine ski bindings are the most popular type, here are some tips for buying the right ones for you.
Make Sure Your Ski Boots Are Compatible With Your Bindings
Image Source: Shutterstock
Before you buy ski bindings, it is essential to check that they are compatible with your ski boots.
The different types of ski bindings we’ve talked about above are designed to be compatible with specific ski boot soles.
Ski boot and binding brands use the International Standards Organization (ISO) to manufacture boots with sole shapes and dimensions that fit the appropriate bindings.
Ski boots with flat plastic soles are marked with ISO 5355. These boots are compatible with traditional alpine ski bindings.
You will come across ski boots with GripWalk soles. These are becoming more popular, but you need to check that the bindings are compatible with them.
Some ski bindings have multi-norm certification (MNC). These bindings are compatible with ISO 5355, GripWalk, and ISO 9523 touring boots.
It is easy to be confused by all these different standards, so you must double-check that your new bindings are compatible with your ski boots. If you are struggling to identify compatible ski bindings, it’s best to speak to a ski tech in a specialist shop.
Take Note of The Binding’s Construction
A ski binding’s strength is a very important aspect to check on before you buy some. More advanced skiers use higher DIN settings; therefore, they need ski bindings with a more robust construction to cope with the higher forces from aggressive skiing.
More advanced skiers need stronger bindings with more elasticity. These characteristics improve control, but they also enhance the binding’s durability.
Strong bindings are made from highly dense materials with high tensile strength. They also have a high DIN range, metal components instead of plastic, are stiff, and have strong pivot points.
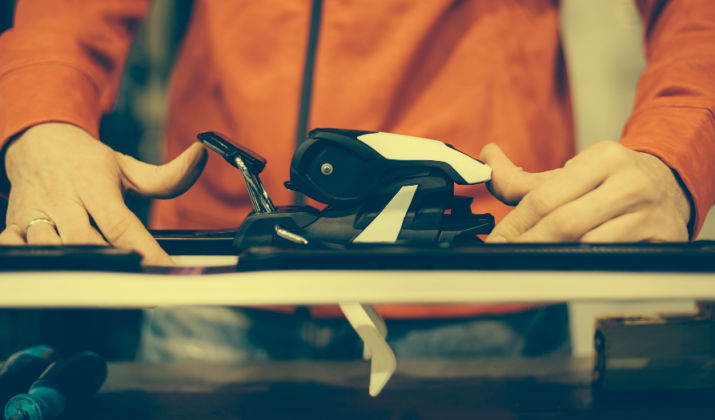
Get Your Bindings Mounted By A Ski Technician
Image Source: Shutterstock
It is possible to fit your bindings at home, but this is not something you want to get wrong. Mounting ski bindings requires you to drill holes in your skis at precise positions.
Also, if you mount the bindings yourself, you run the risk of them not performing as they are designed to. Often the manufacturer’s warranty will be void if your ski bindings are not mounted by a professional.
When you have found the perfect set of ski bindings, take them and your skis to a good ski shop to be mounted. The ski tech will give you a form to fill in so you can tell them your vital stats and what kind of skier you are.
Your skiing level will probably be described as level 1 (beginner), level 2 (intermediate), or level 3 (advanced).
A certified ski technician will have the correct equipment and knowledge to mount ski your bindings and tweak them according to your skill level and preferences.
Know About Ski Binding Mounting Positions
Image Source: Shutterstock
Where your ski bindings are mounted makes a difference in how they perform in different types of terrain and snow conditions.
Most ski manufacturers provide a recommended mounting position for bindings. This will suit the needs of most skiers; however, you can opt to mount the bindings in an alternative position.
If you choose to have your bindings mounted further back, your skis will be less responsive. However, they will feel more stable and float better in powder.
Bindings that are mounted further forwards make your skis feel more responsive, and skiing switch becomes more manageable.
If you have any doubts about where you should mount your ski bindings, it’s best to stick with the manufacturer’s recommendations.
If you want your bindings mounted anywhere other than the manufacturer’s suggestion, it’s best to mark where you want them.
The reason for this is that the ski tech will not get confused about where you want your bindings mounted. If you verbally ask the ski tech to “center mount the bindings,” “center” can have a few meanings. But if you draw a line where you want them, there will be no confusion.
Be Mindful Of Ski Boot Wear
Image Source: Shutterstock
You may be buying new ski bindings to use with older boots. But over time, ski boots experience wear and tear in the toes and heels.
When a ski boot’s toes and heels get worn down too much, they don’t work very well with bindings. This means they could release unexpectedly while you are charging at full speed.
Therefore, you should check your ski boots for wear and tear at least once a year. If you need clarification about how badly worn they are, ask a qualified ski technician for their opinion. They can also use a template to determine if they are still usable.
Understand Ski Binding Toe Height Adjustment
The gap between the toe piece and the anti-friction device is known as the toe gap. Typically, ski bindings need a 0 to 0.5mm clearance between the boot and the anti-friction device to work correctly.
Most alpine ski bindings have automatic toe gap adjustment. But you will come across bindings that can be manually adjusted by a ski technician.
Tweak Your Stance With Shims and Canting
Some skiers require their stances to be altered to suit their physiological characteristics. Different canting and ramp angles can be attained by inserting shims under the bindings when they are mounted to the skis.
If you experience too much pressure on the inside or outer edges, or your heel or toe feels too high, a ski tech can tweak your stance with shims.
Looking After Your Ski Bindings
Ski bindings are generally maintenance-free unless the manufacturer specifies specific maintenance tasks. Bindings that allow you to lift your heel, such as touring bindings or telemark bindings, require a little more attention due to the extra moving parts.
It’s best to check the condition of your ski bindings at the start of each winter. If you are unsure how to do this, or don’t know what to look for, take them to a shop for a qualified technician to check them for you.
Final Thoughts
Image Source: Shutterstock
As you can see, there is quite a lot to ski bindings, and there may be more types than you first realized.
There are many different disciplines of skiing, so it’s only natural that there is the necessary equipment for each one.


